


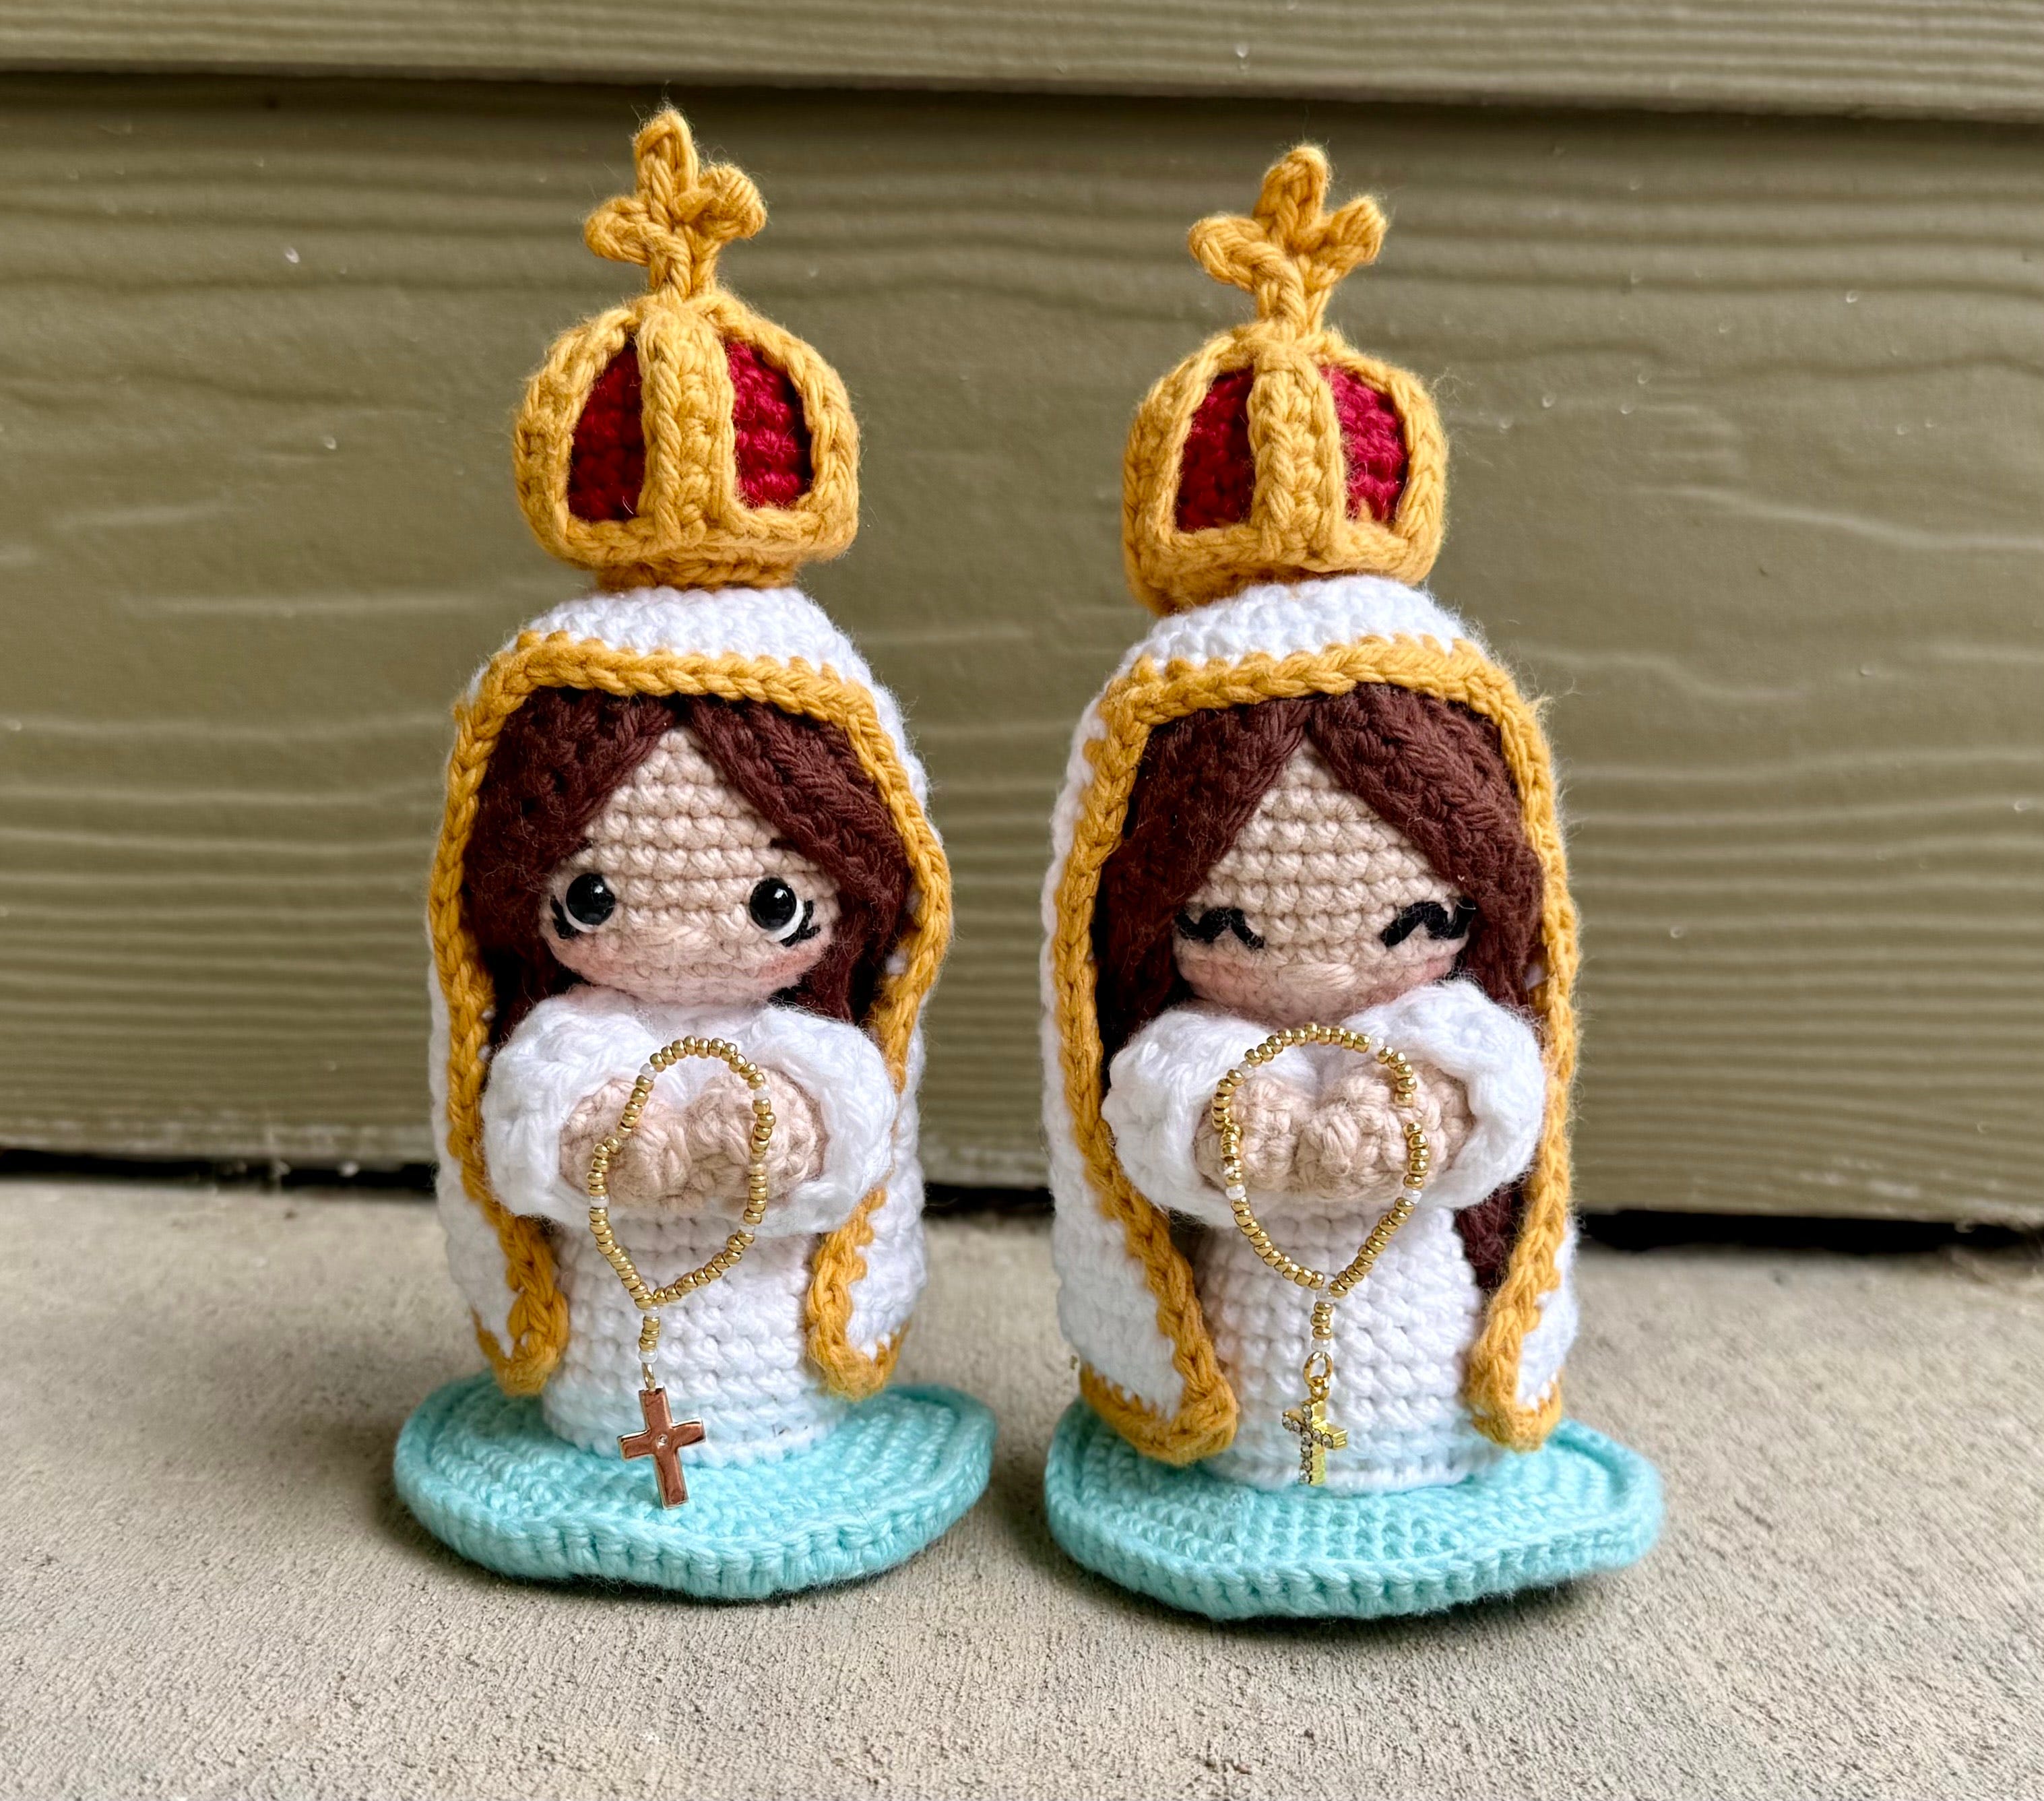
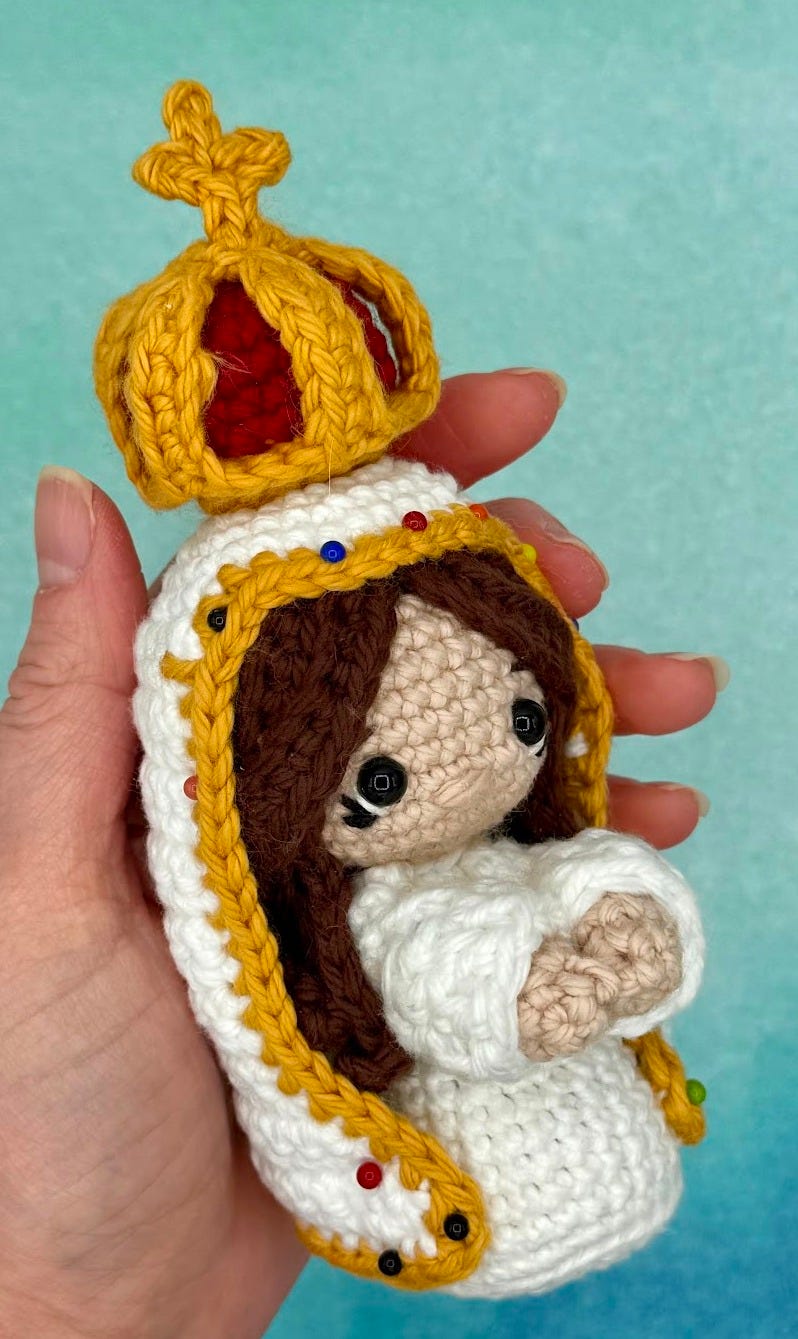
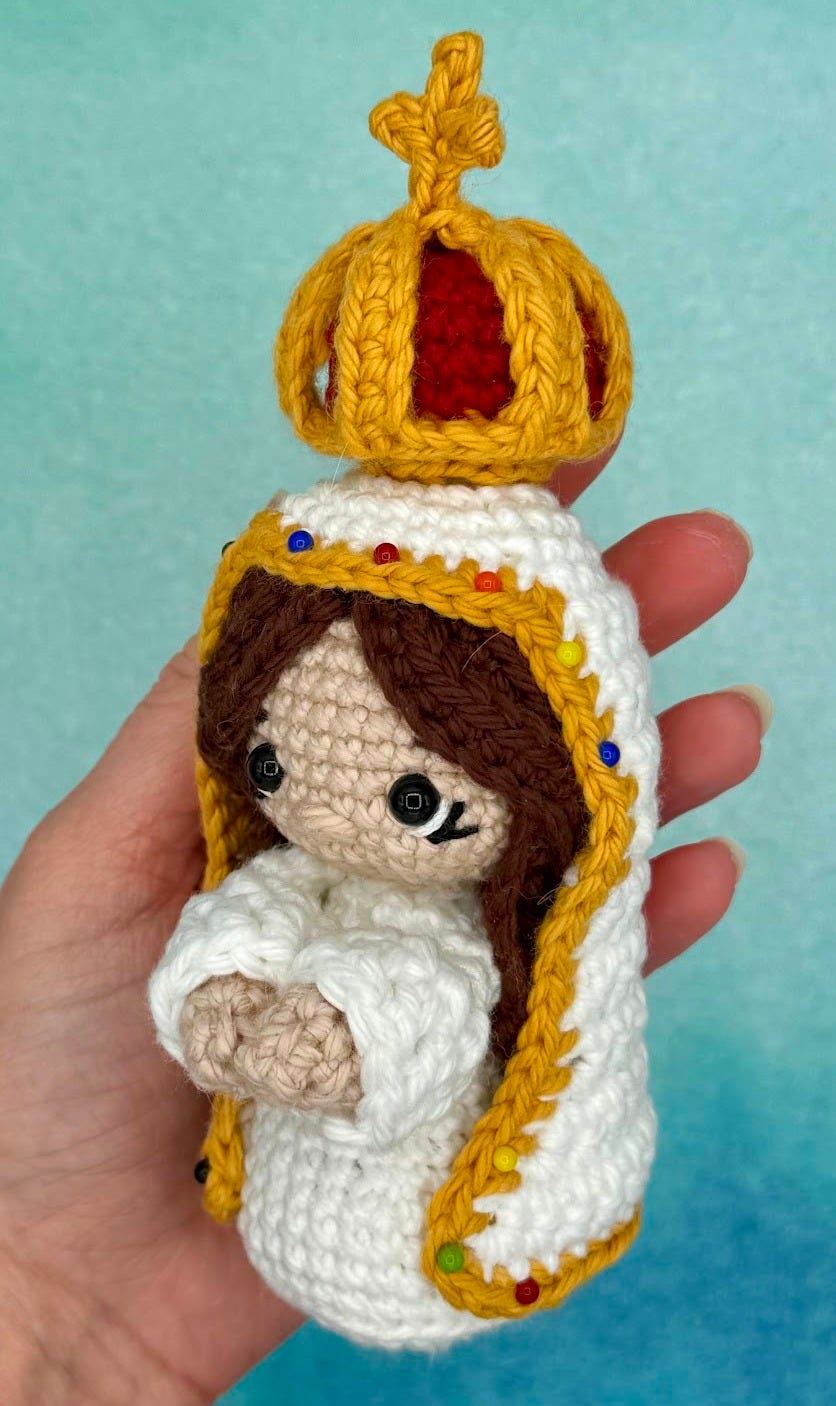
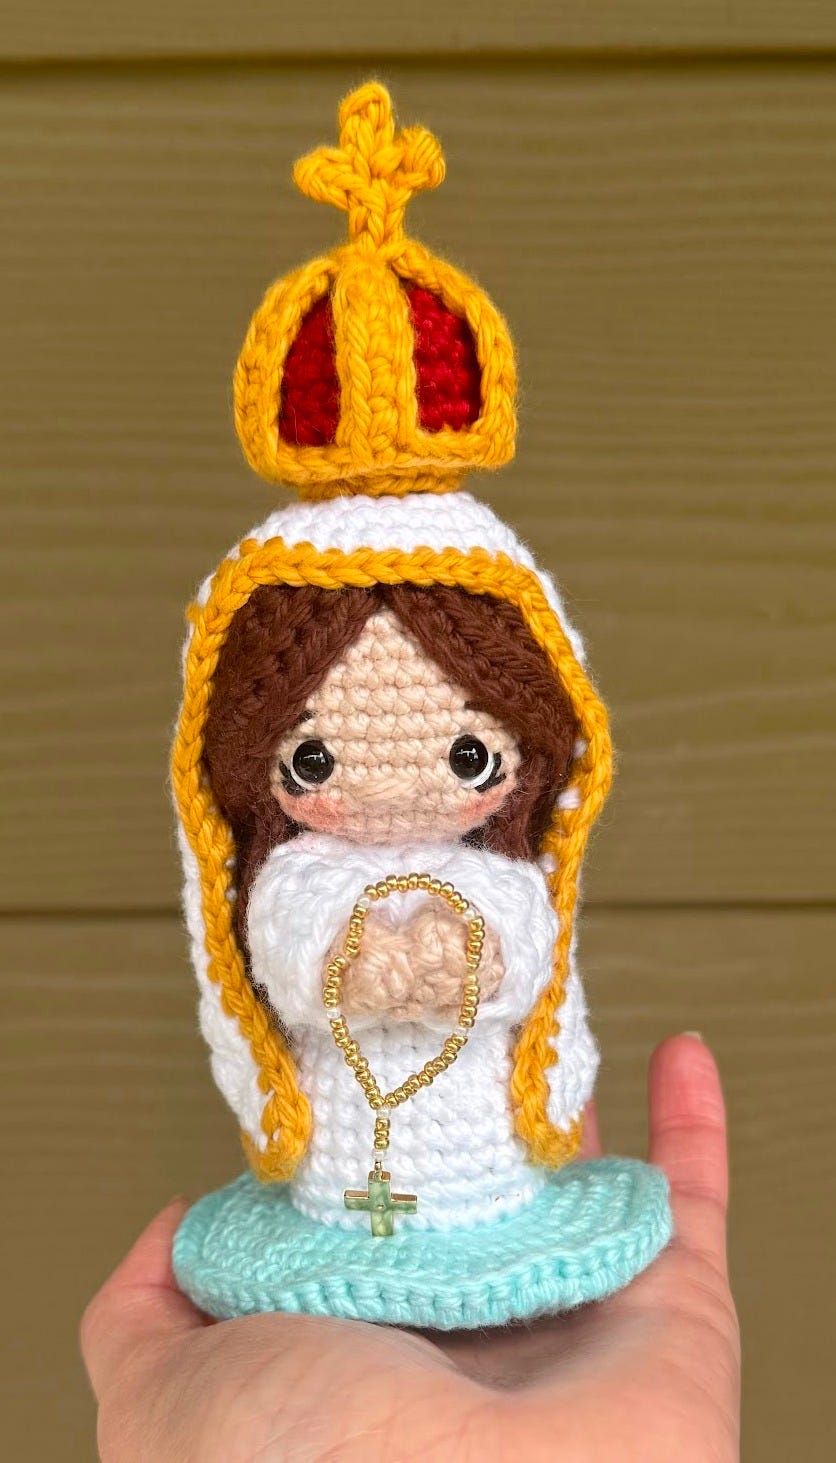
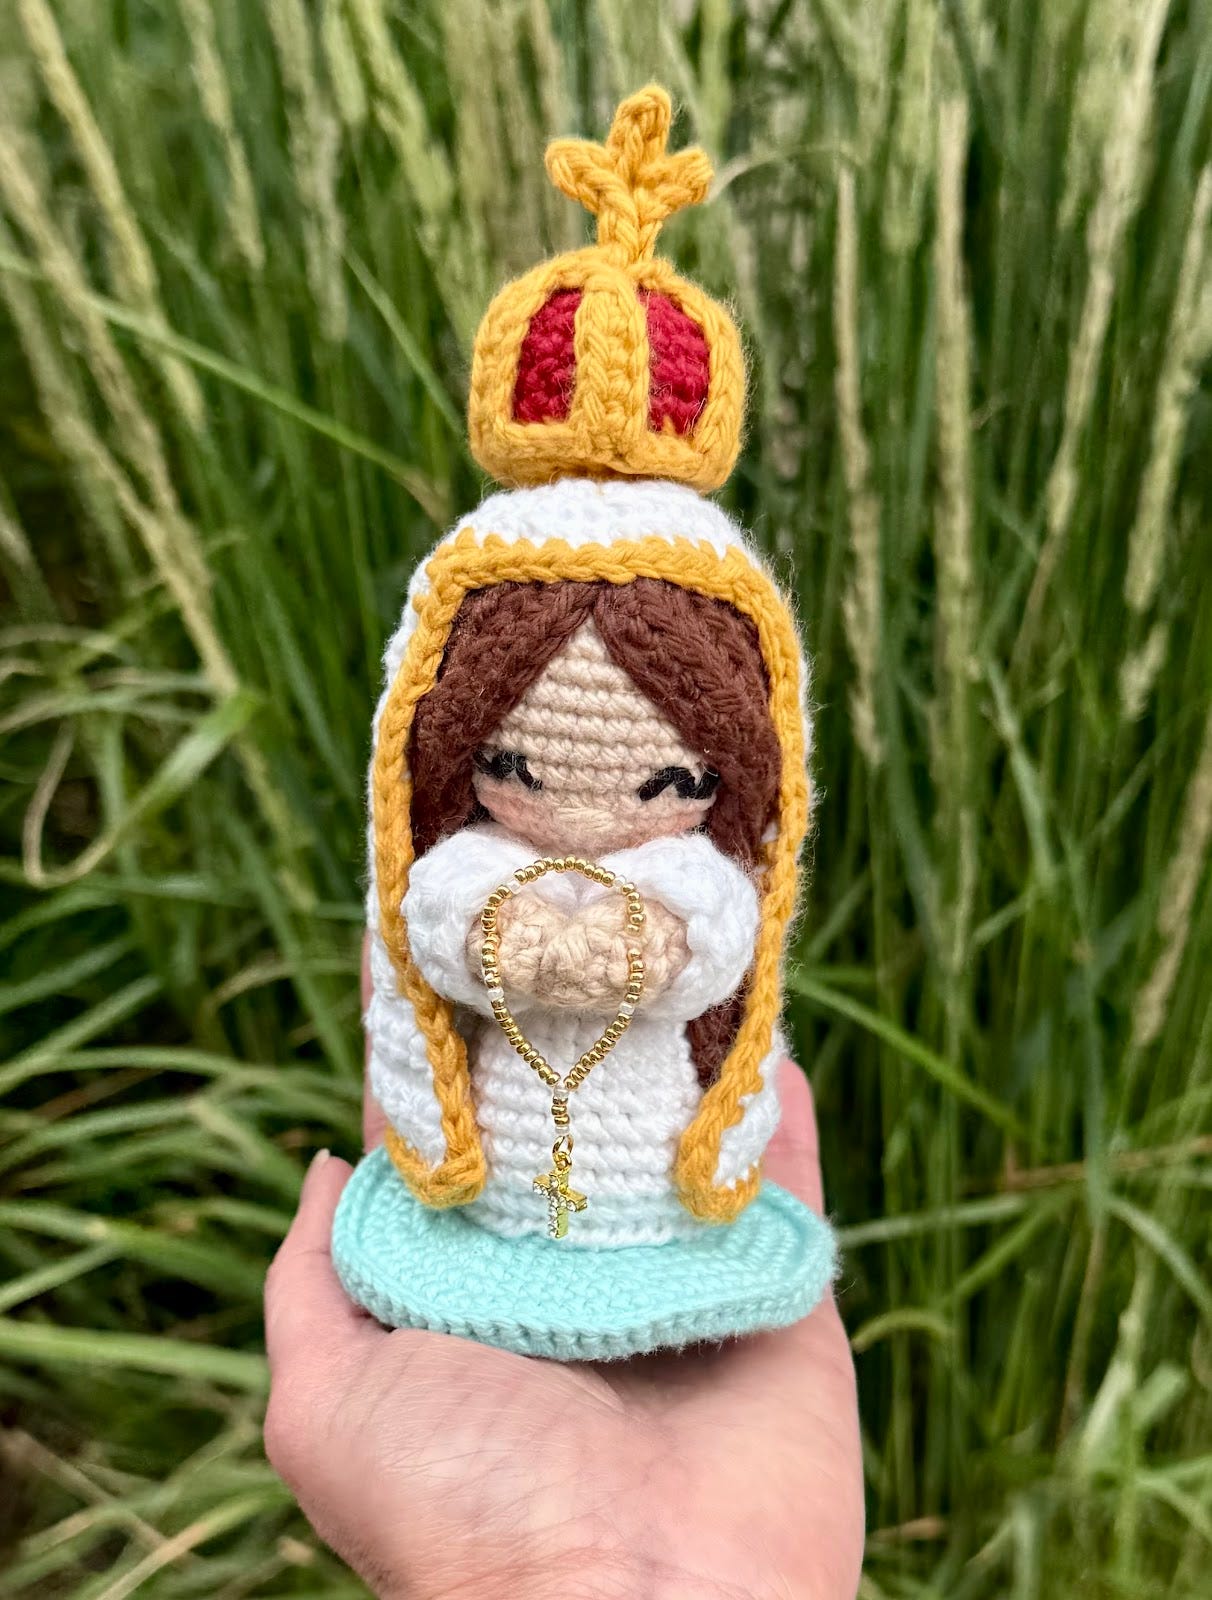
Little Our Lady of Fatima Pattern

Click here for a pdf version of this pattern.
Thank you so much for trying my pattern! This pattern is the property of Lindsey Peppers. You may not copy or distribute any part of this pattern. Find me at Instagram and Facebook.
Materials:
2.5 mm hook
Cotton weight 4 yarn: beige, brown, white, gold, red, and aqua
Polyester fiber stuffing
Stitch marker (to keep track of rows)
Finishing/tapestry needle (to sew parts together, embroider nose, and weave in ends)
For open-eyed version: 6 mm safety eyes, yarn or embroidery thread in black, white, and brown
For closed-eye version: yarn or embroidery thread in black
Glue (I used Tacky glue)
Sewing pins (for placing parts together before sewing)
Plastic canvas (to cut and insert inside the bottom of the doll and the platform)
Materials for rosary: I used Beadalon WildFire Thermally Bonded weaving thread, Bead Treasures 11/10 round beads in white (6) and gold (53) and a cross charm (all from Hobby Lobby)
Optional: blush
Skills:
Basic understanding of how to complete amigurumi and follow patterns
Working in a spiral
Working in distinct rounds
Working in rows
Color changing
Sewing amigurumi parts together
Basic embroidery skills
Finishing off (f.o.) and weaving/tucking in ends
Chain (ch)
Single crochet (sc)
Double crochet (dc)
Increase (inc.)
Invisible decrease (dec.)
Regular decrease (reg. dec.)
Crocheting in back loops only (BLO)
Slip stitch (sl st)
Other Notes:
This pattern is written in US crochet terms.
I choose to begin by chaining two and then completing the specified number of stitches starting in the 2nd ch from the hook. Of course, you may alternatively do a magic ring if you prefer.
I crocheted tightly and inserted a lot of stuffing.
Aside from sewing a few pieces together (as specified), I glued most of the pieces together. You may sew these pieces together, alternatively.
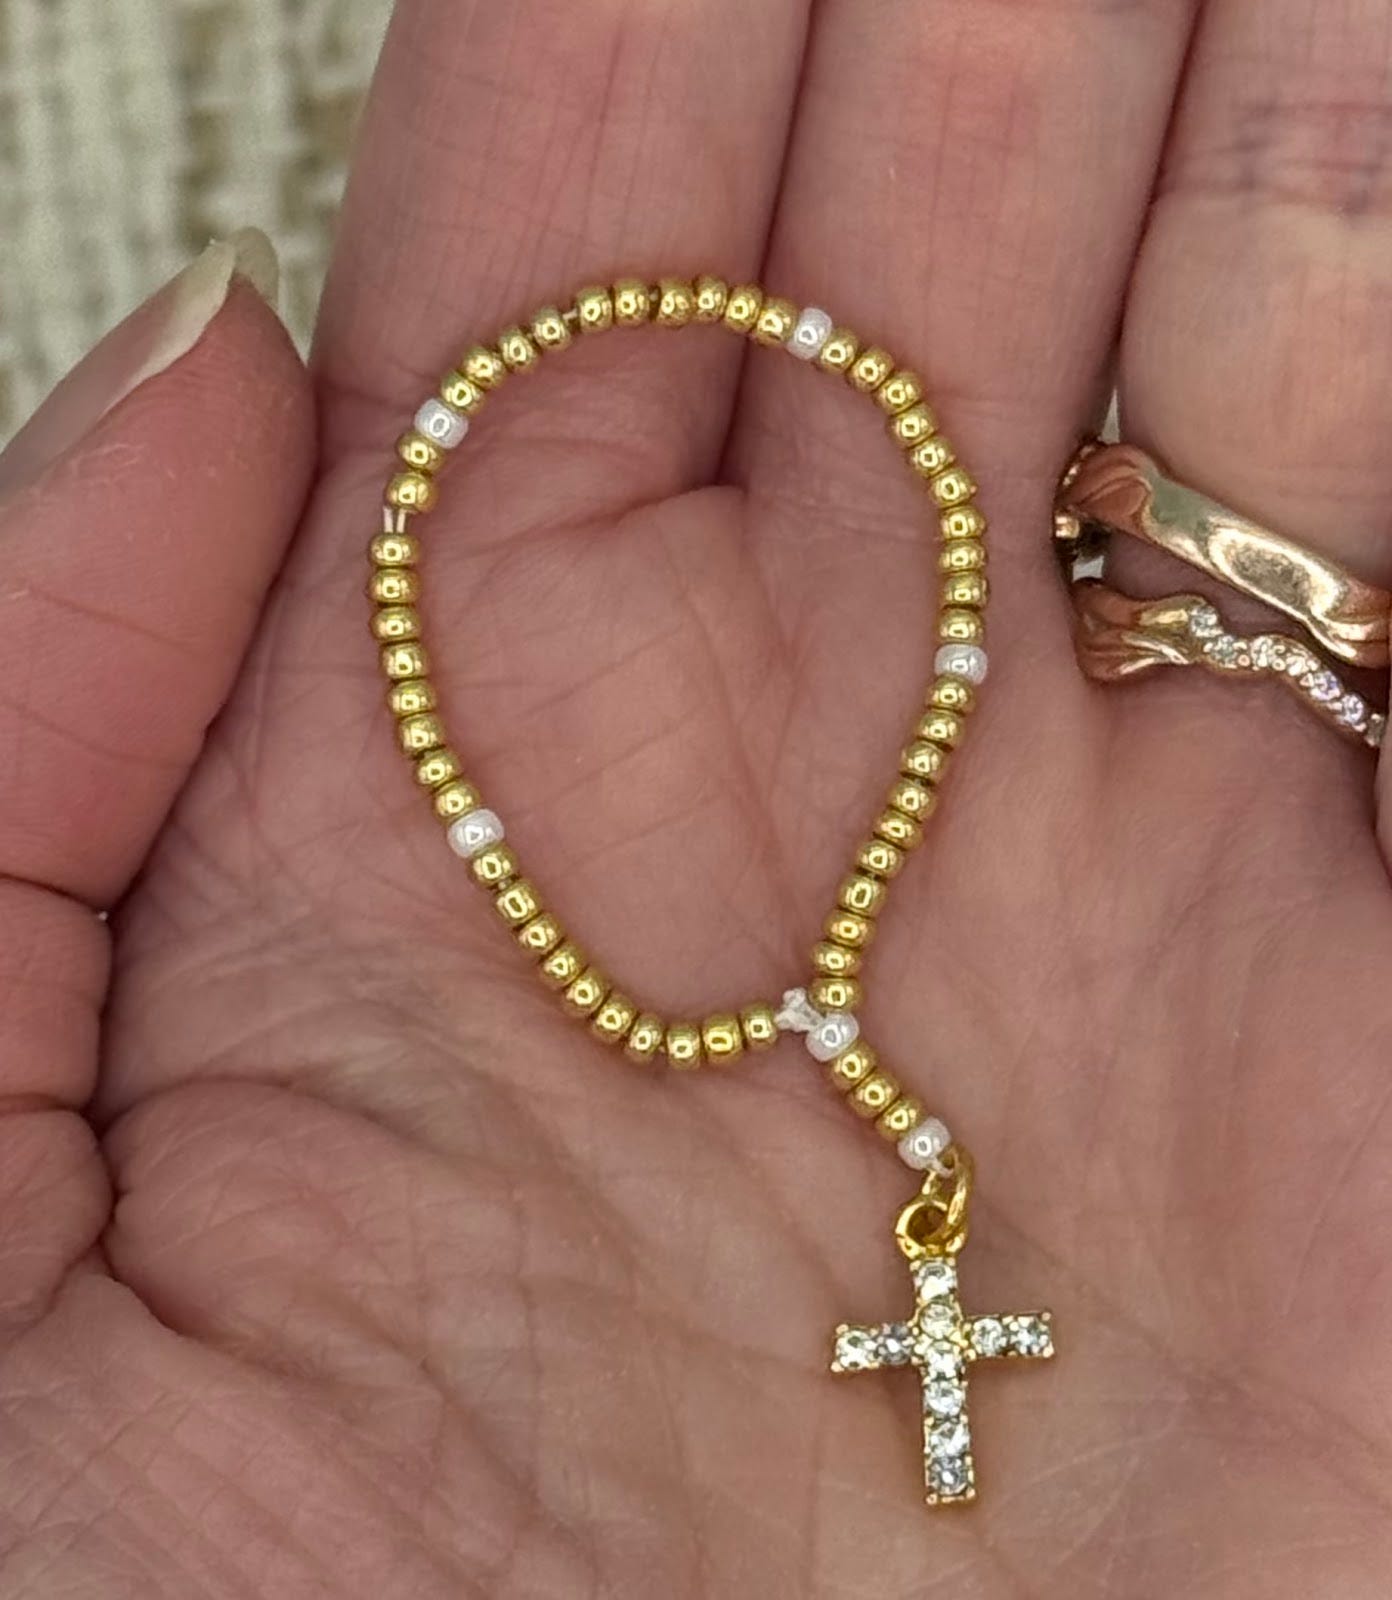
Rosary
Unravel some of your thread and place the following beads on in this sequence:
(10 gold beads, 1 white bead) x 5
3 gold beads
1 white bead
Lastly, place the cross charm on your thread.
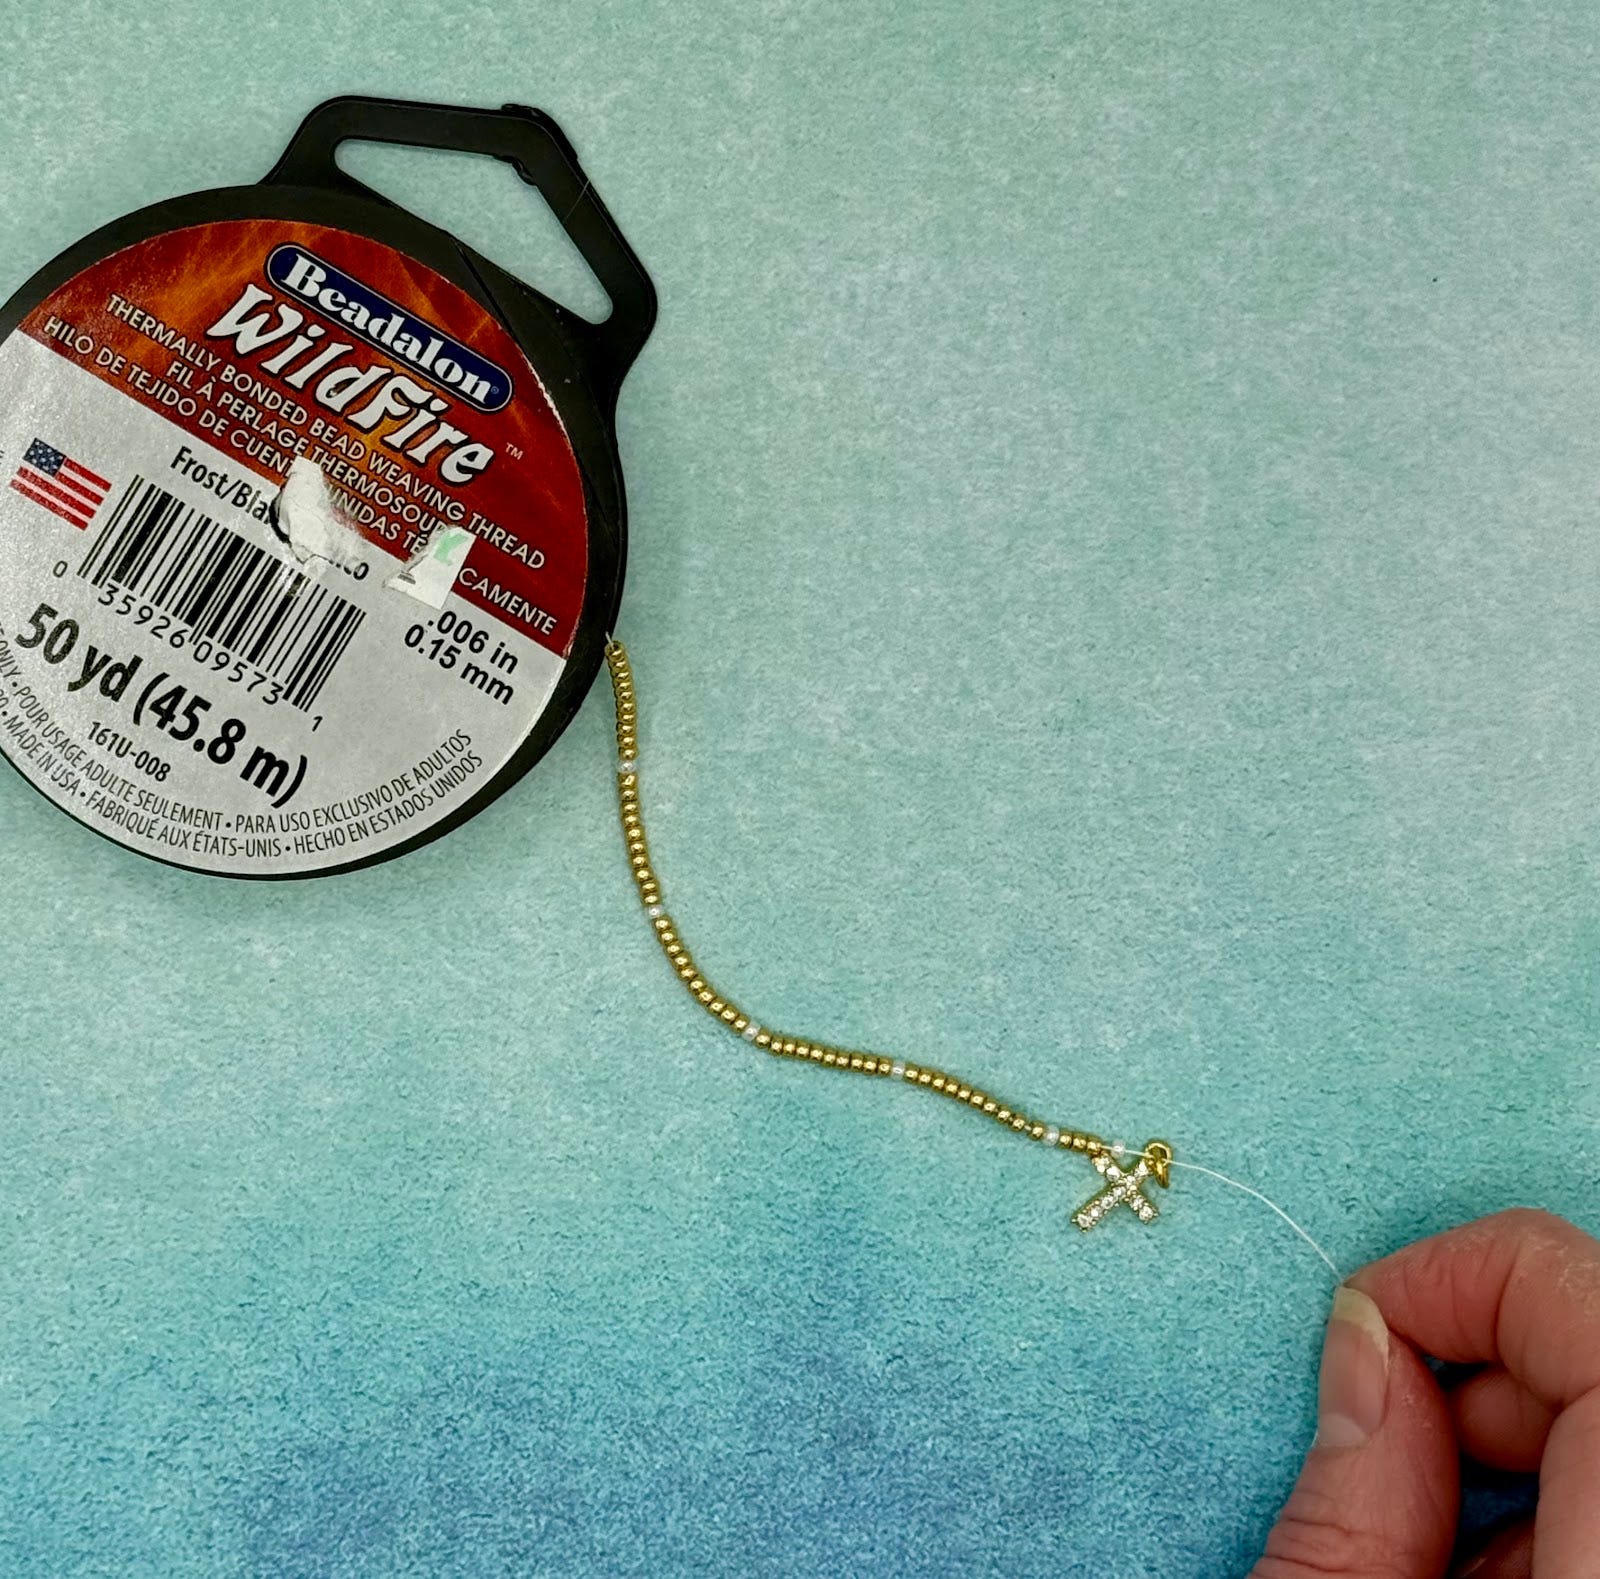
Loop your thread back through the white bead, the next 3 gold beads, and then the next white bead.
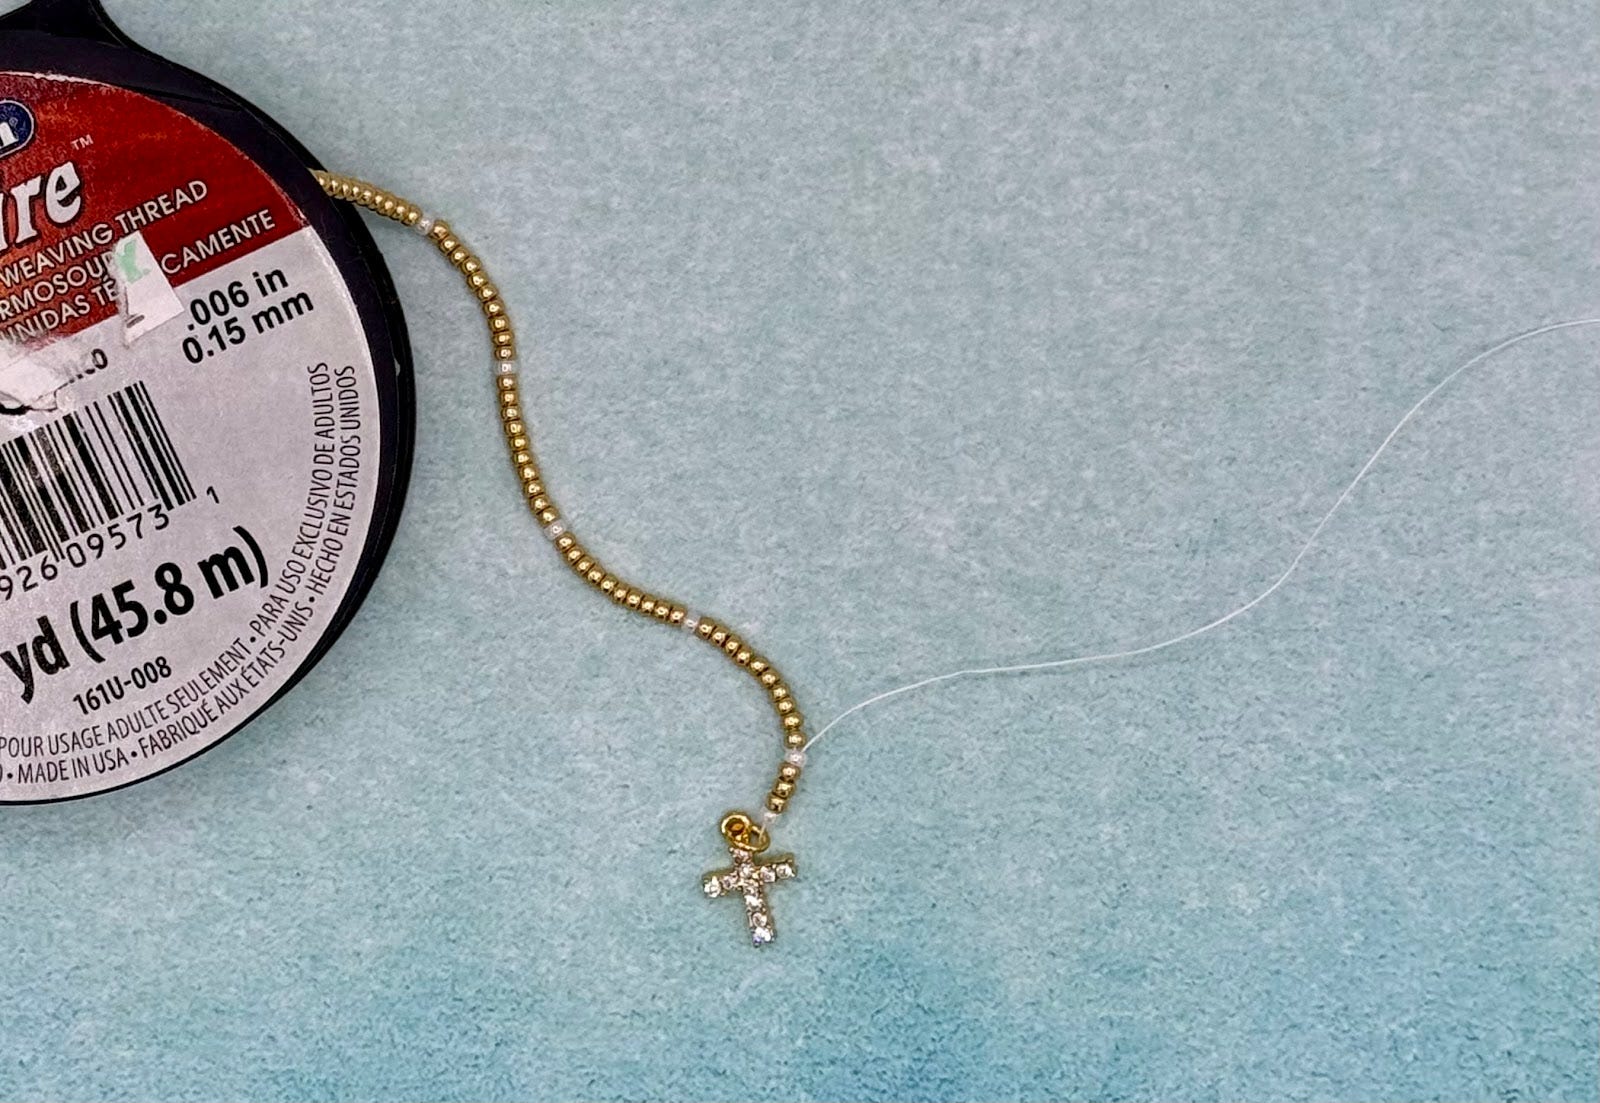
Unravel the thread a little bit further so that both ends have several inches without beads and cut the thread off of the spool. Carefully double knot both ends of the thread, bringing the beaded sections of the thread close together.
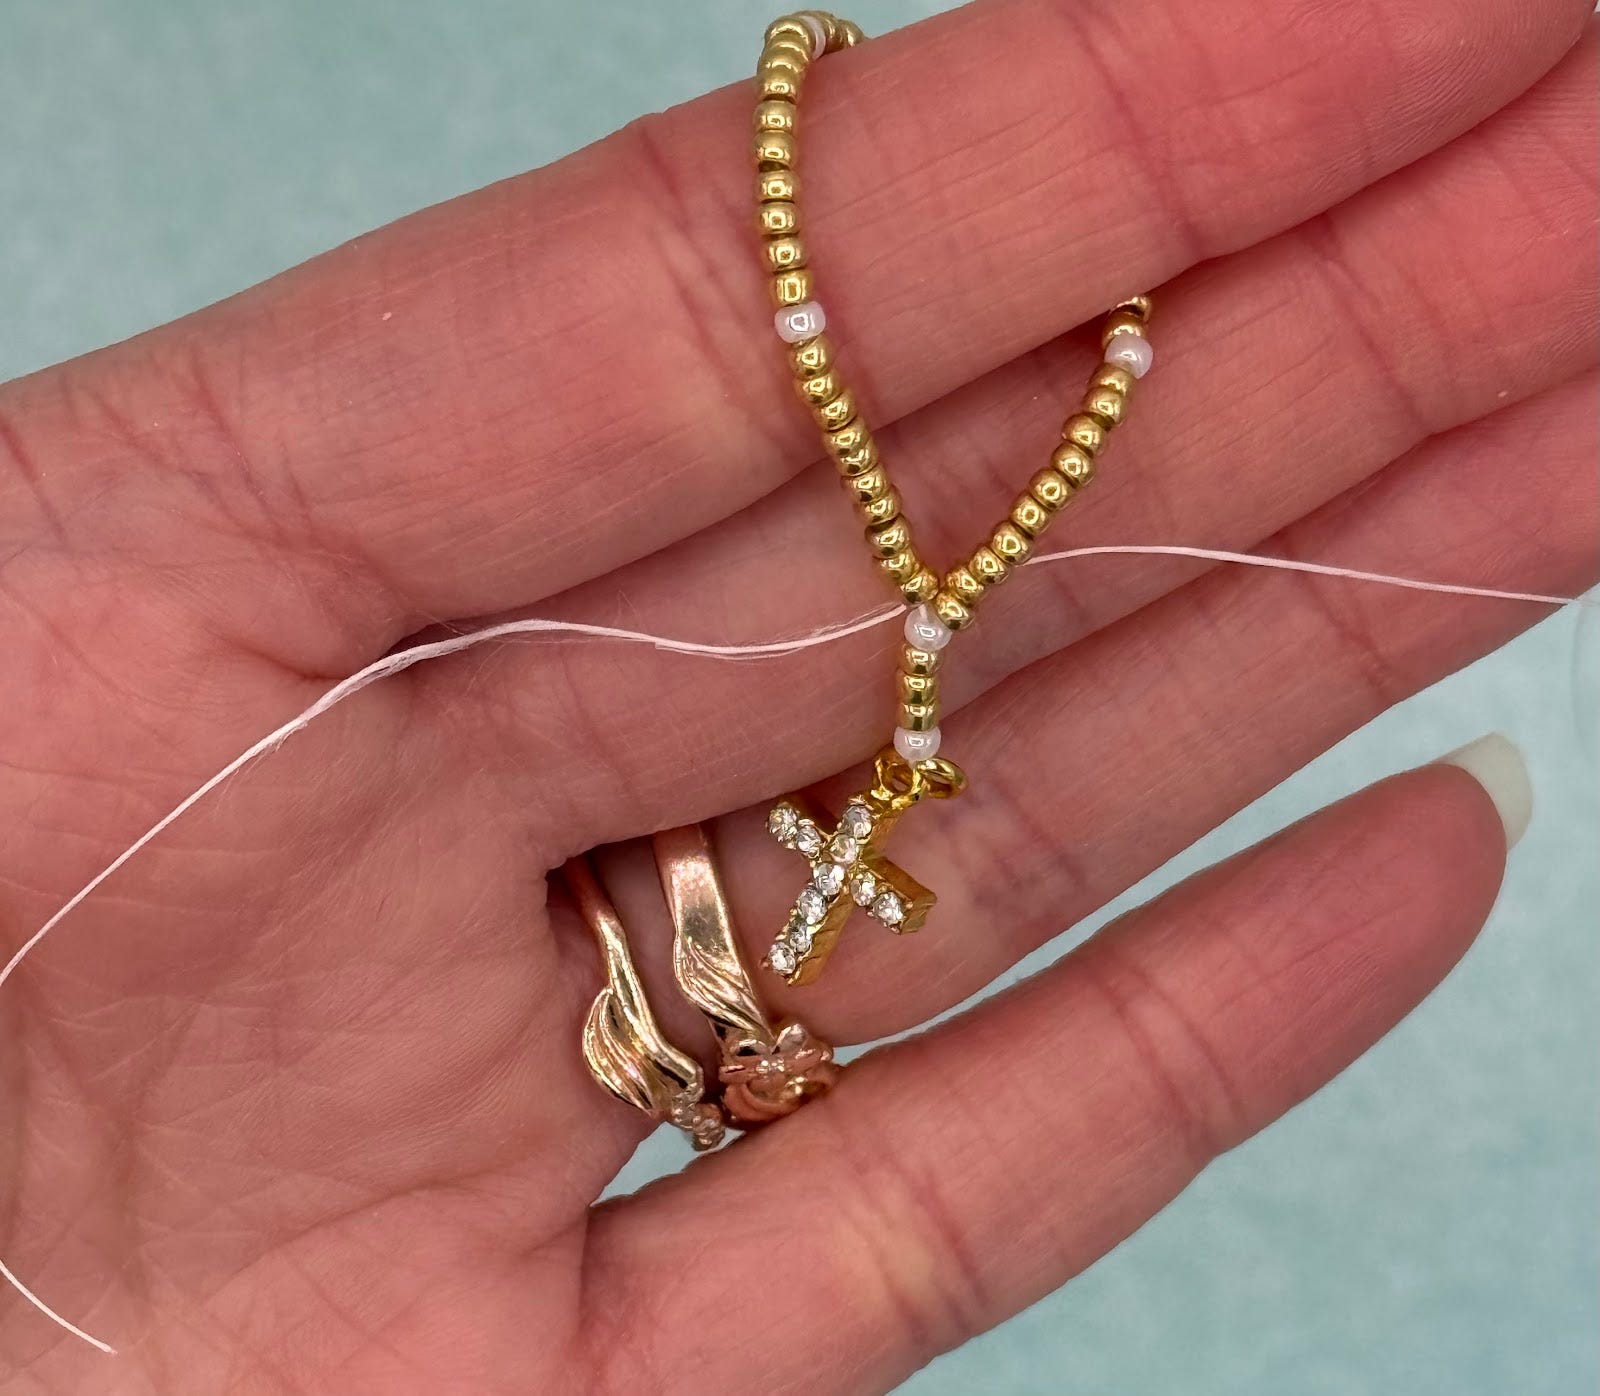
Lastly, loop some of each end back through some of the beads and trim the ends. Set rosary aside for now.
Arm (make 2)
Begin with beige yarn. Stuffing is not necessary.
Round 1: ch 2, complete 6 sc in the 2nd chain from the hook (6)
R 2: (2 sc, inc.) x 2 (8)
R 3-5 (3 rounds): 8 sc (8)
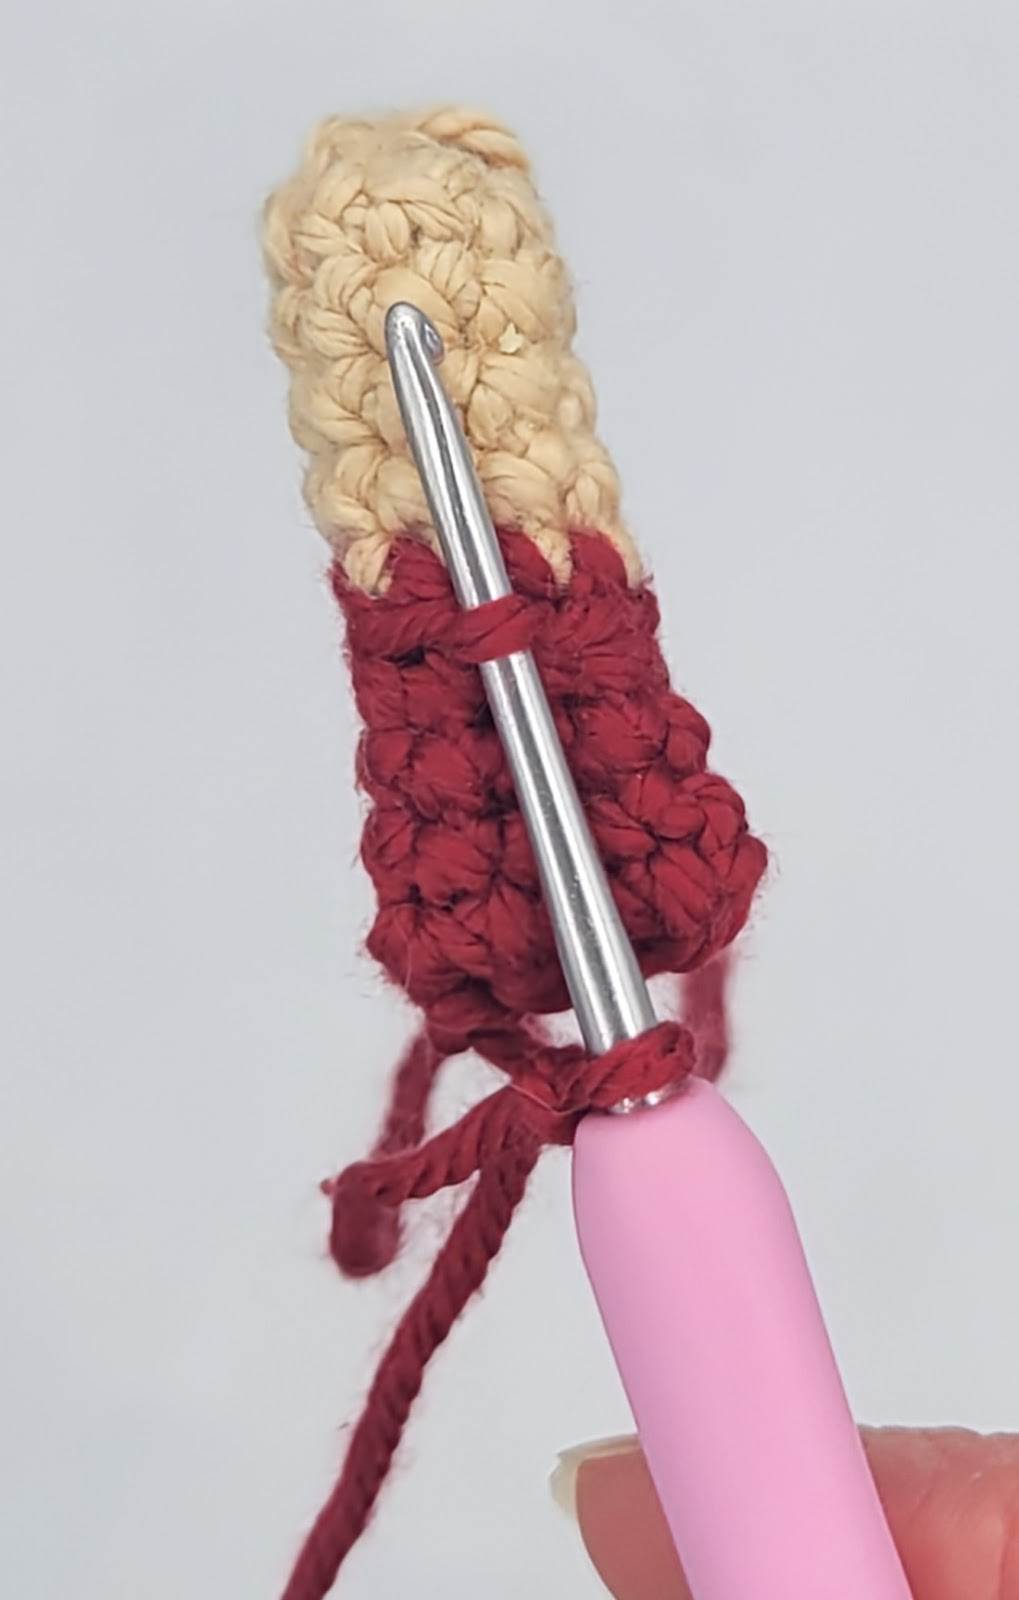
Change to white yarn.
R 6: 8 sc (8)
R 7: BLO 8 sc (8)
R 8-9 (2 rounds): 8 sc (8)
R 10: Fold the arm in half and close together with 4 sc (4)
F.o. and leave a short tail (to be tucked inside the doll later).
Sleeve (make 2)
With the top of the arm (white part) facing you, use your hook to sl st to one of the unworked front loops of round 6. (I purposely did this on the side of the arm where the color change does not show. This side of the arm, which will contain the slip stitches, will not be as visible on the finished doll). This will be crocheted in distinct rounds (not a spiral).
R 1-2: (2 rounds) ch 2, 8 dc, connect with sl st (8)
F.o. and weave in loose ends.
Body
Begin with white yarn. Stuff as you go.
R 1: ch 2, complete 8 sc in the 2nd chain from the hook (8)
R 2: inc. x 8 (16)
R 3: (sc, inc.) x 8 (24)
R 4: (2 sc, inc.) x 8 (32)
Pause here to trace your work so far onto the plastic canvas and cut it out.
R 5: BLO 32 sc (32)
R 6: (14 sc, dec.) x 2 (30)
R 7-8: (2 rounds): 30 sc (30)
Insert the plastic canvas inside the doll so far. Stuff your doll as you go.
R 9: (8 sc, dec.) x 3 (27)
R 10: 27 sc (27)
R 11: 3 sc, dec., (7 sc, dec.) x 2, 4 sc (24)
R 12: 24 sc (24)
R 13: (6 sc, dec.) x 3 (21)
R 14: 21 sc (21)
R 15: 3 sc, dec., (5 sc, dec.) x 2, 2 sc (18)
R 16: 18 sc (18)
R 17: (4 sc, dec.) x 3 (15)
When attaching the arms in the following round, the finishing tail falls to the left side of the arm. The “v’’s” of the stitches of the arm and body face the same direction. When crocheting the arms onto the body, you will be crocheting in the stitches of both at the same time. The decreases of round 18 will be regular decreases, not invisible decreases.
Either tuck the ending tail of the arm inside the body as you crochet the arms on, or weave the tail inside the body after crocheting it on and tie it to a stitch from the inside of the body to keep it secure.
R 18:
On the body: 2 sc
Through the arm and body: reg. dec., 2 sc
On the body: sc, dec.
Through the arm and body: 3 sc
Insert your hook through the final stitch of the arm and body, pull up a loop, insert your hook through the next stitch on the body, pull up a loop, yarn over, and pull through all three loops to complete a reg. dec.
On the body: 1 sc (12 total stitches at the end of round 18)
Change to beige yarn.
R 19: BLO: 12 sc (12)
R 20: inc. x 12 (24)
R 21: 4 sc, inc., 2 sc, inc. x 3, 5 sc, inc. x 3, 5 sc, inc. (32)
R 22-28 (7 rounds): 32 sc (32)
The side where the rounds begin and end is the back side of the head.
For the closed-eye version: on the front side of the head, embroider the nose around 2 sc in the middle between rounds 22 and 23. Embroider eyes and eyelashes that are 3 stitches wide on round 24 with 4 stitches in between. Below is a diagram to show how I embroidered the right eye. Each square represents a sc and the arrows designate the directions I worked in. (The left eye is the mirror image of the right eye.)

For the open-eyed version: insert the safety eyes between rounds 24 and 25, 6 stitches apart. Embroider the whites of the eyes and the eyelashes. (I find it easiest to embroider the eye whites and the eyelashes before putting the backs of the safety eyes on.) Embroider a nose that is two stitches wide between rounds 23 and 24. Embroider eyebrows that are a half-stitch tall and 1 stitch wide on round 26.

R 29: (6 sc, dec.) x 4 (28)
R 30: 3 sc, dec., (5 sc, dec.) x 3, 2 sc (24)
R 31: (2 sc, dec.) x 6 (18)
R 32: (sc, dec.) x 6 (12)
R 33: dec. x 6 (6)
F.o. and weave in ends. With beige yarn, sew the two hands together.
Hair
Use brown yarn.
R 1: ch 2, complete 6 sc in the 2nd ch from the hook (6)
R 2: inc. x 6 (12)
R 3: (sc, inc.) x 6 (18)
R 4: (2 sc, inc.) x 6 (24)
R 5: (5 sc, inc.) x 4 (28)
R 6: 3 sc, inc., (6 sc, inc.) x 3, 3 sc (32)
R 7: 32 sc (32)
R 8:
13 sc
(ch 19, complete 18 sc back up the chain], sc in next st) x 6
13 sc
F.o. and weave in ends.
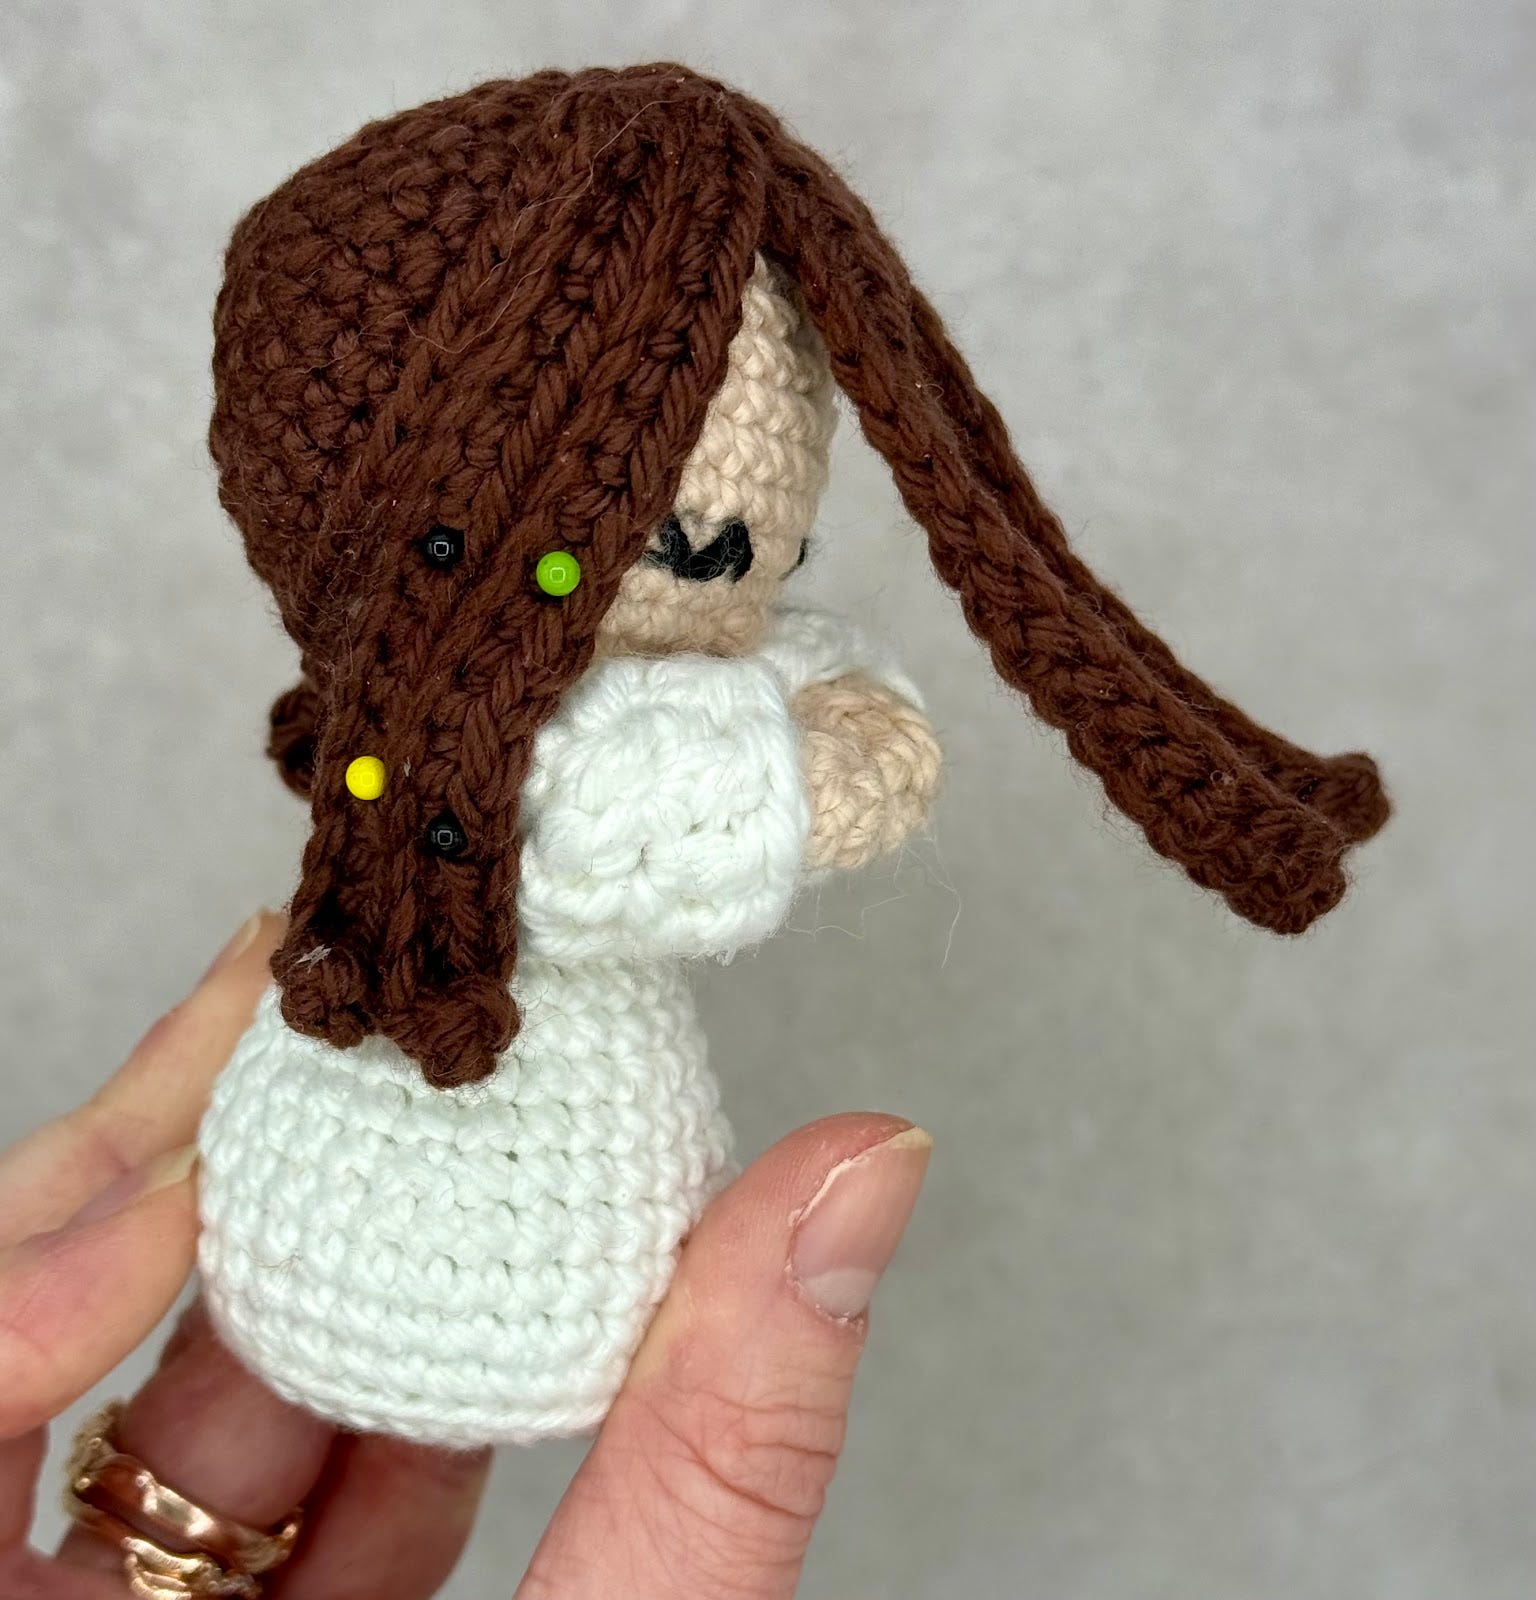
As you determine hair placement as directed below, keep in mind that the veil will cover most of the hair. On my doll, the furthest back hair strands do not even show. Therefore, you do not need to worry about any gap on the head that might exist between the furthest back hair strands and the hair cap. Instead, position the hair strands in the way you’d like it to look if you’re facing the front of the doll. If you’d like more of the hair strands to show below the head/along the side of the body, you might consider positioning the front-most hair strands along the arms.
Glue the hair cap onto the doll so that three strands fall on either side of the face. For now, ignore the middle two strands. Pin the remaining 4 strands along the hair cap so that they frame the face. Glue these down using pins to secure the strands into place as the glue dries. Pin the middle two strands along the forehead, and then intersecting across the other strands, as desired. Glue the hair strands down, using the pins to secure the strand into place as the glue dries.
Veil
Use white yarn.
R 1: ch 2, complete 7 sc in the 2nd chain from the hook (7)
R 2: ch 1, inc. x 7, connect with sl st (14)
R 3: ch 1, (sc, inc.) x 7, connect with sl st (21)
R 4: ch 1, (2 sc, inc.) x 7, connect with sl st (28)
R 5: ch 1, 28 sc, connect with sl st (28)
R 6: ch 1, 20 sc (Leave the rest of stitches unworked) (20)
R 7-19 (13 rounds): ch 1, turn, 20 sc (20)
This might be a good point to place the veil on the head to check the fit. The veil will start increasing in width in round 20. If your tension is different than mine, you may want to add rows of 20 sc to the veil. Make sure you complete an odd number of rows of 20 sc so that later the border will be crocheted in the correct direction.
R 20: ch 1, turn, inc., 18 sc, inc. (22)
R 21: ch 1, turn, inc., 20 sc, inc. (24)
R 22: ch 1, turn, inc., 22 sc, inc. (26)
R 23: ch 1, turn, inc., 24 sc, inc. (28)
R 24: ch 1, turn, inc., 26 sc, inc. (30)
Change to gold yarn,
R 25: ch 1, and turn your work to begin evenly single crocheting around the entire veil. The final side you crochet along should be the bottom of the veil, with 1 sc per stitch. Sl st to the first sc of round 25 that you completed.
F.o. and weave in the ends. Set veil aside for now.
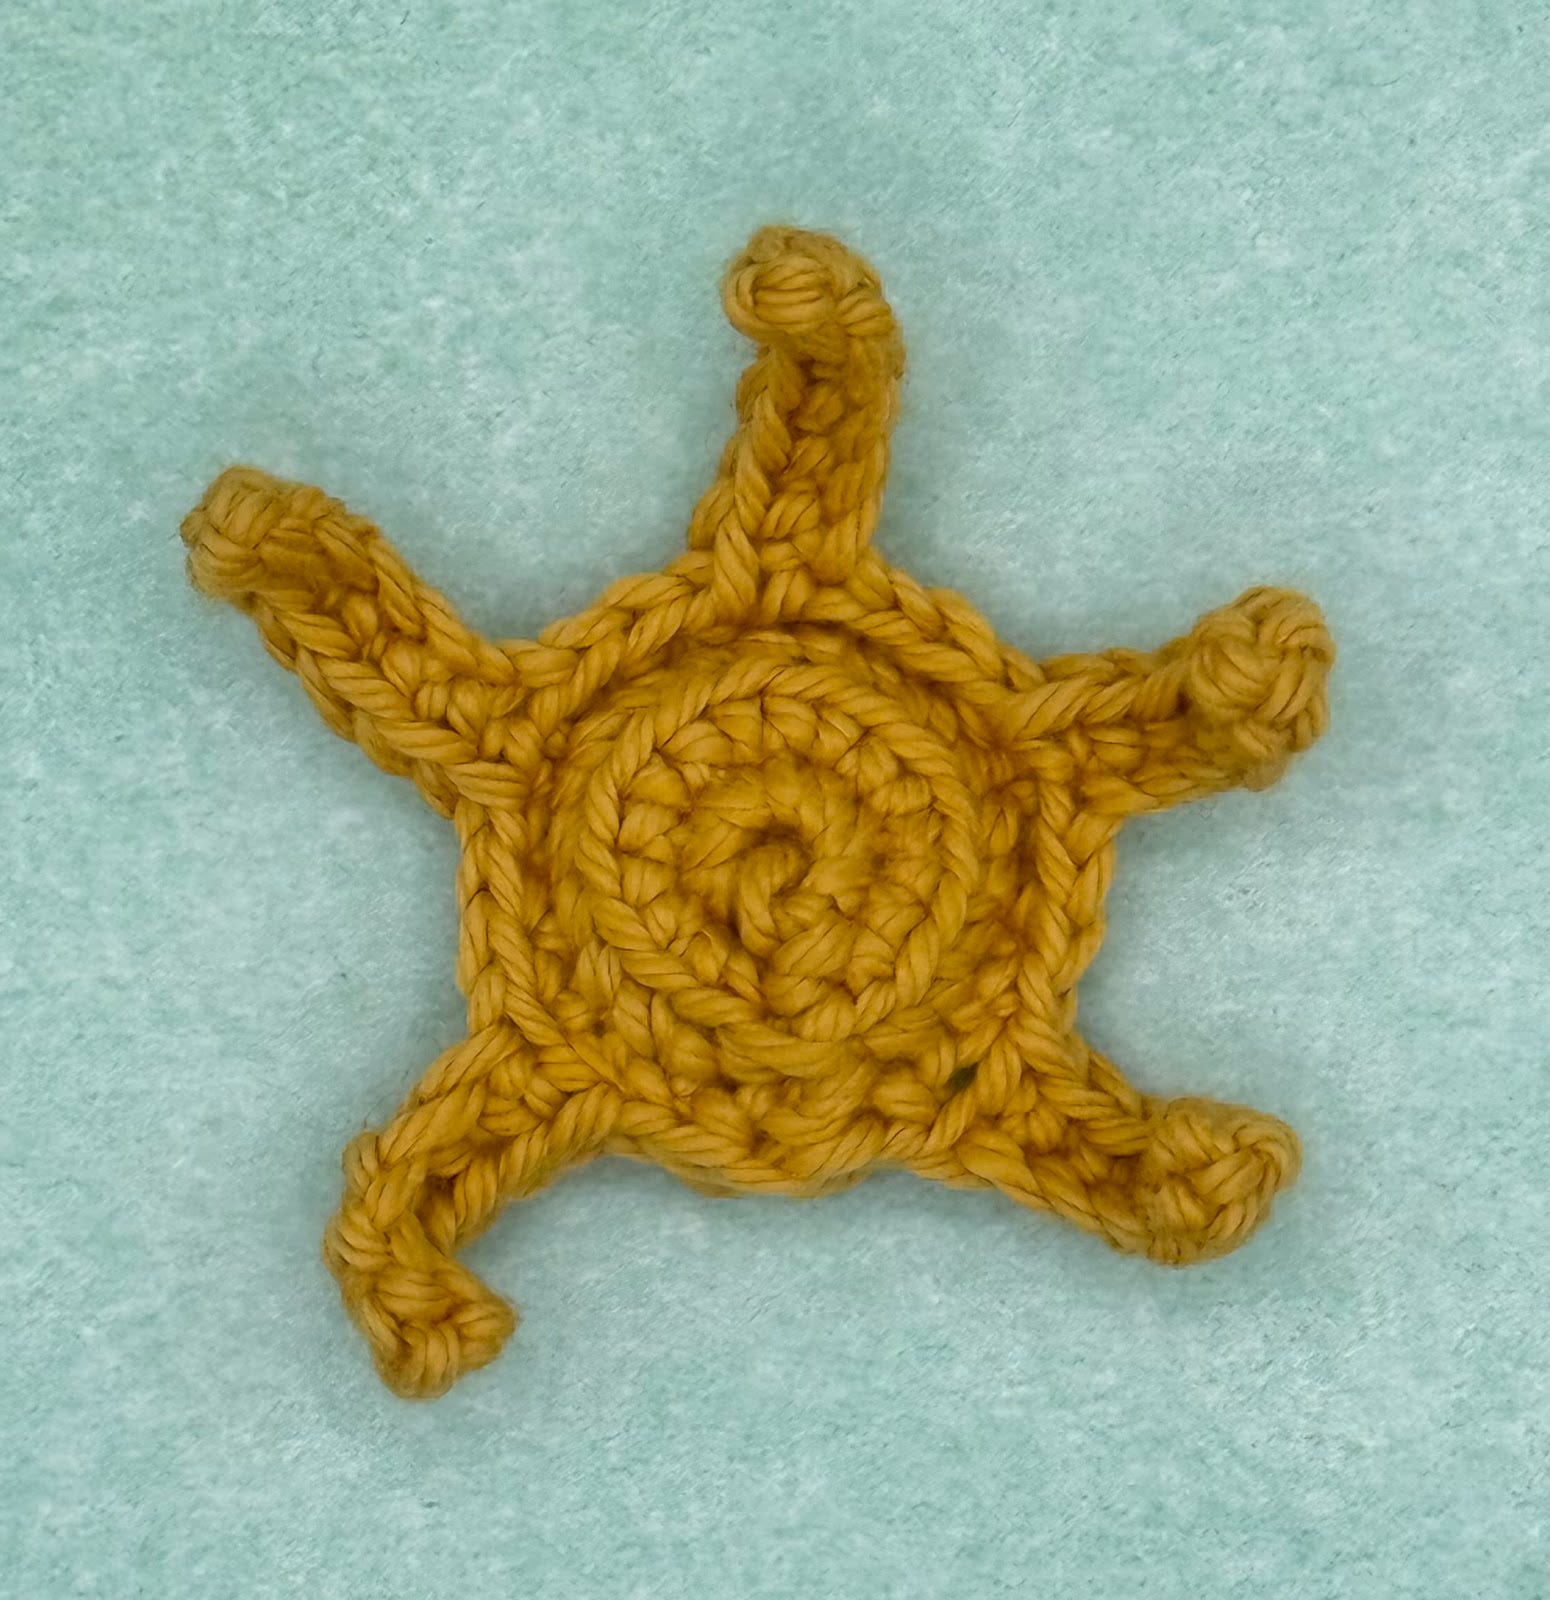
Crown
Use gold yarn. This will be crocheted in distinct rounds, with a ch 1 at the beginning and a sl st at the end of each round.
R 1: ch 2, complete 8 sc in the 2nd ch from the hook, sl st to the first sc you made (8)
R 2: ch 1, inc. x 8, connect with sl st (16)
R 3: BLO ch 1 (3 sc, inc.) x 4, connect with sl st (20)
R 4: FLO ch 1, (Sc in the next st, ch 7, starting from the 2nd ch from the hook complete 6 sc down ch, dec. in the next stitch, sc in the next stitch) x 5, connect with sl st (15)
F.o. and weave in your end tail. (You may weave in the beginning tail too if you’d like. I leave it and hide it in the red part later when I attach the two pieces).
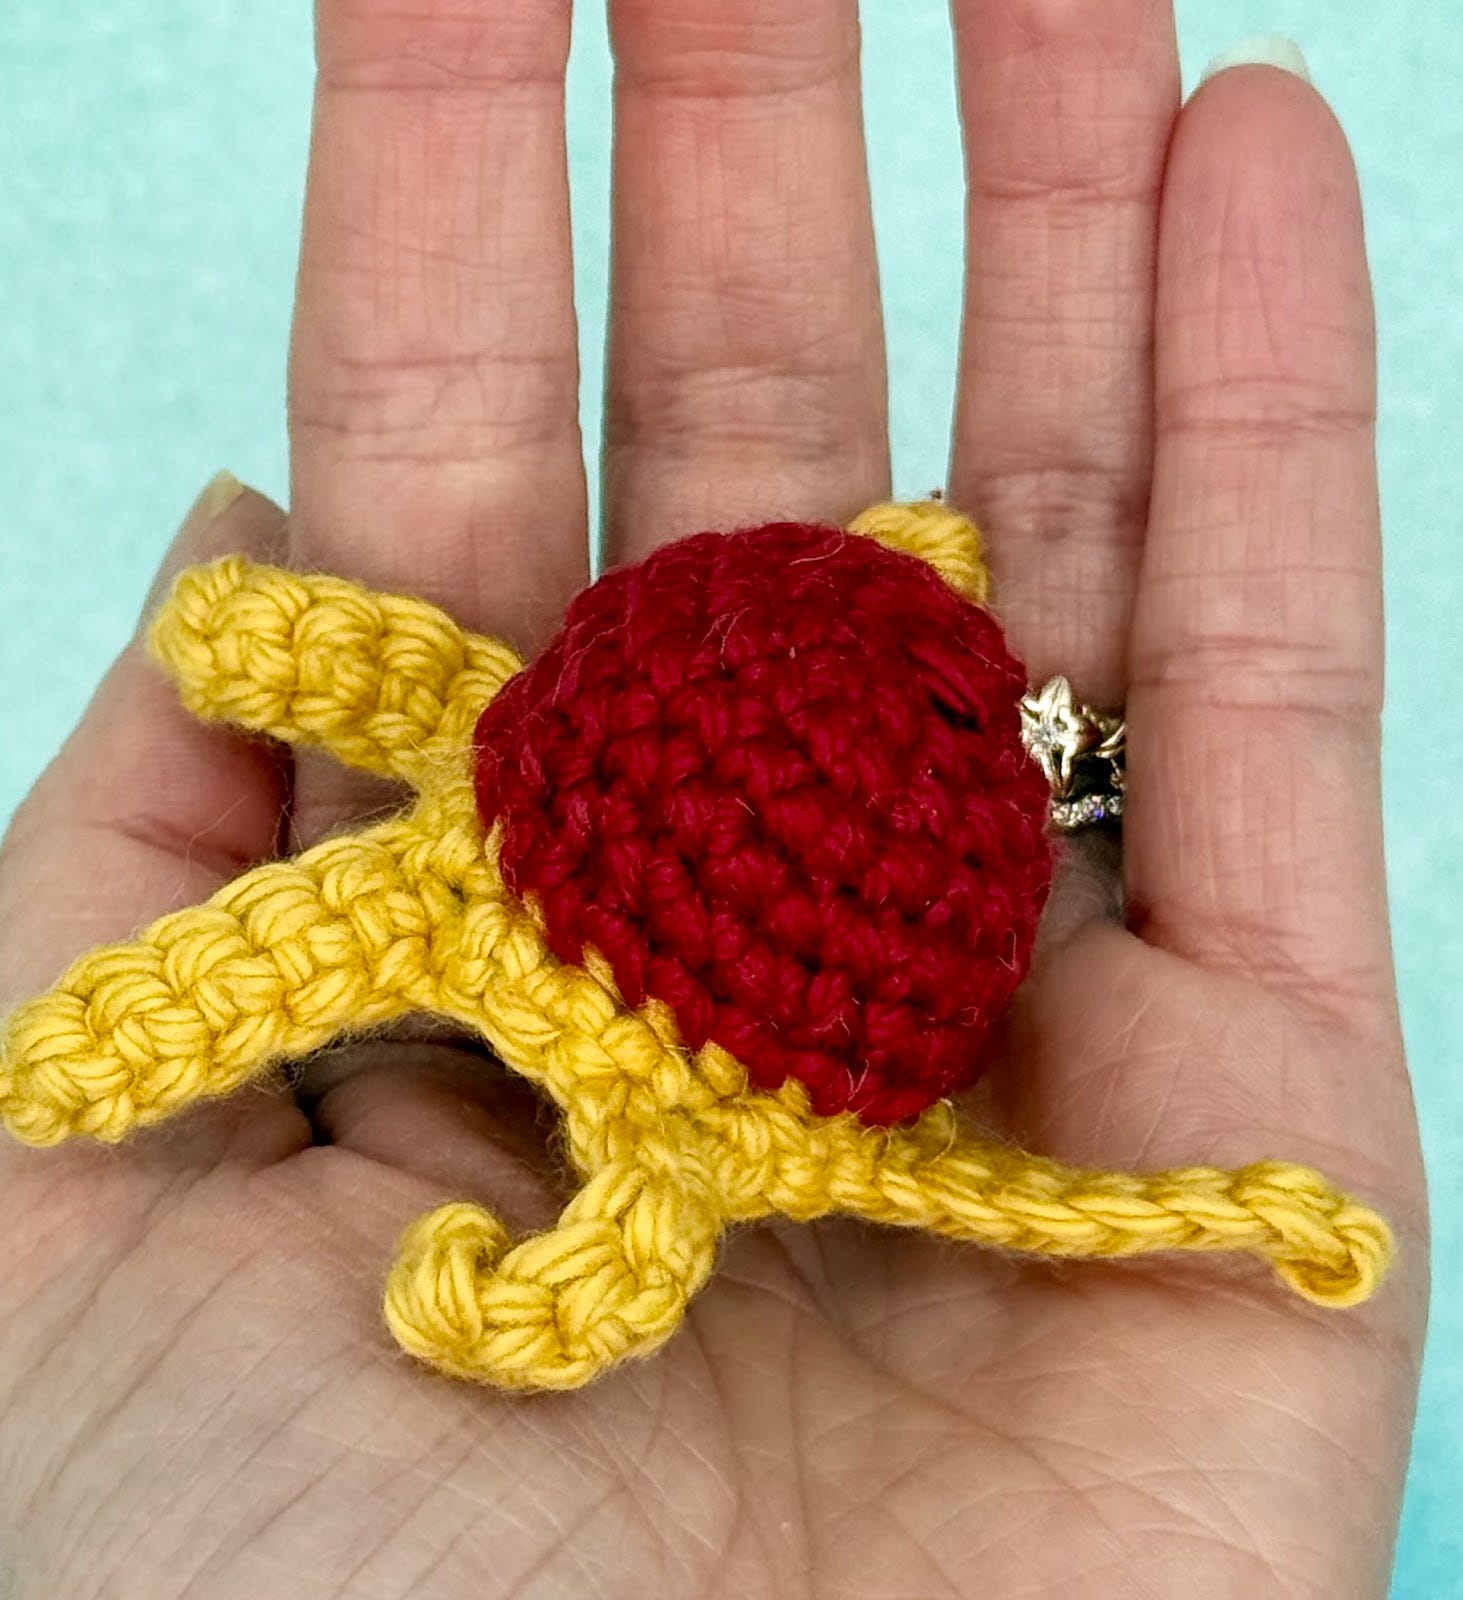
Crown: Red Part
Use red yarn. This will be crocheted in a continuous spiral.
R 1: ch 2, complete 6 sc in the 2nd ch from the hook (6)
R 2: inc. x 6 (12)
R 3: (sc, inc.) x 6 (18)
R 4: (2 sc, inc.) x 6 (24)
R 5: 24 sc (24)
R 6: (4 sc, dec.) x 4 (20)
F.o. and leave a long tail for sewing. Use the tail to sew the red part onto the left over back loops of round 3. When about half of the red part is sewn on, stuff the red part, and then finish sewing the rest of it on.
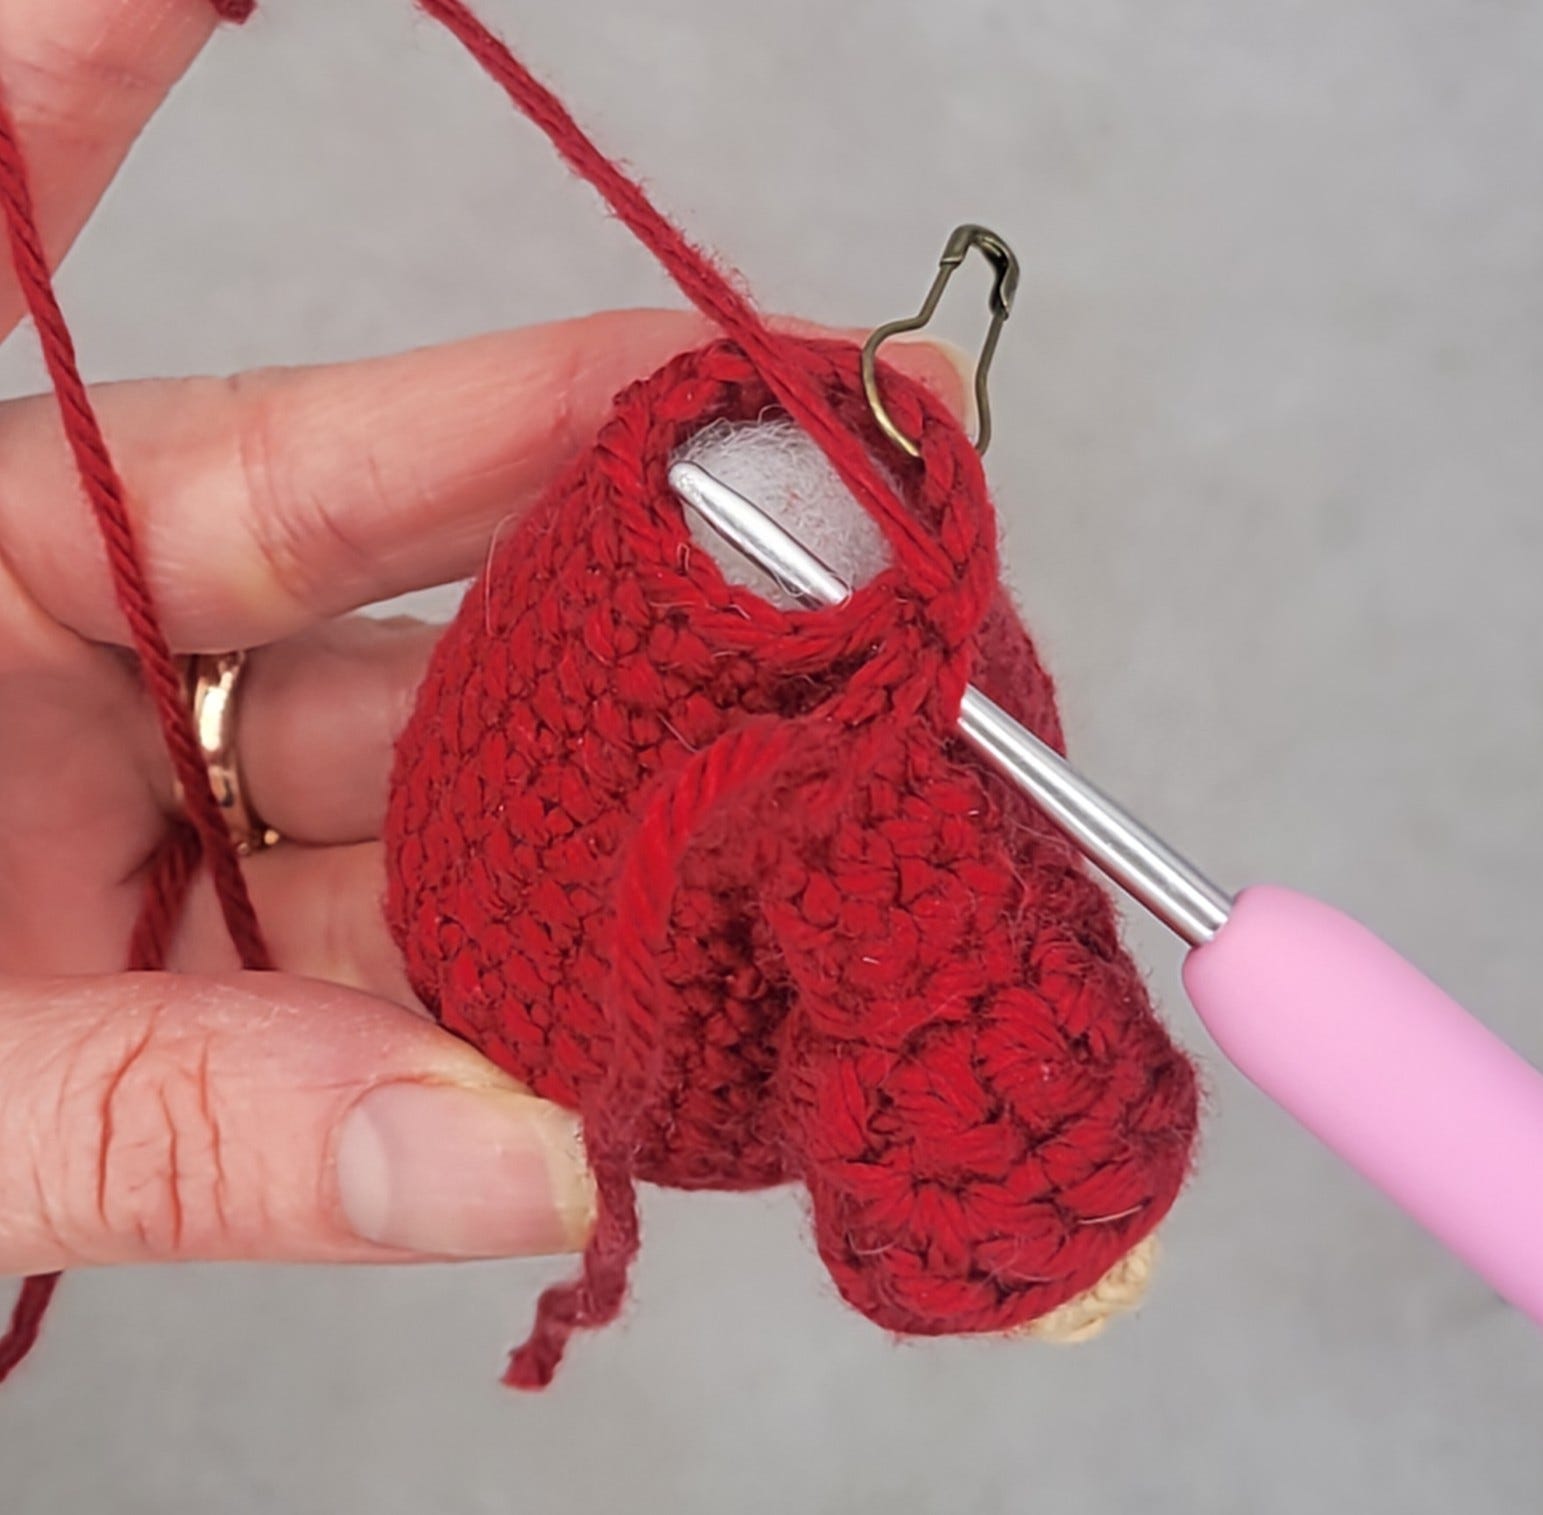
Finishing the Crown
Next you will rejoin yarn to the first (gold) part of the crown to close it at the top. You should have 5 skinny rectangles (or “strips”) of single crochets. You will be joining the rectangles by crocheting in the skipped chain you made at the top of each rectangle. After connecting the first two rectangles, you will crochet the cross, and then continue onto connecting the final three rectangles. Lastly, you will connect to the first sc you made with a sl st. (All of this comprises “Round 1”).
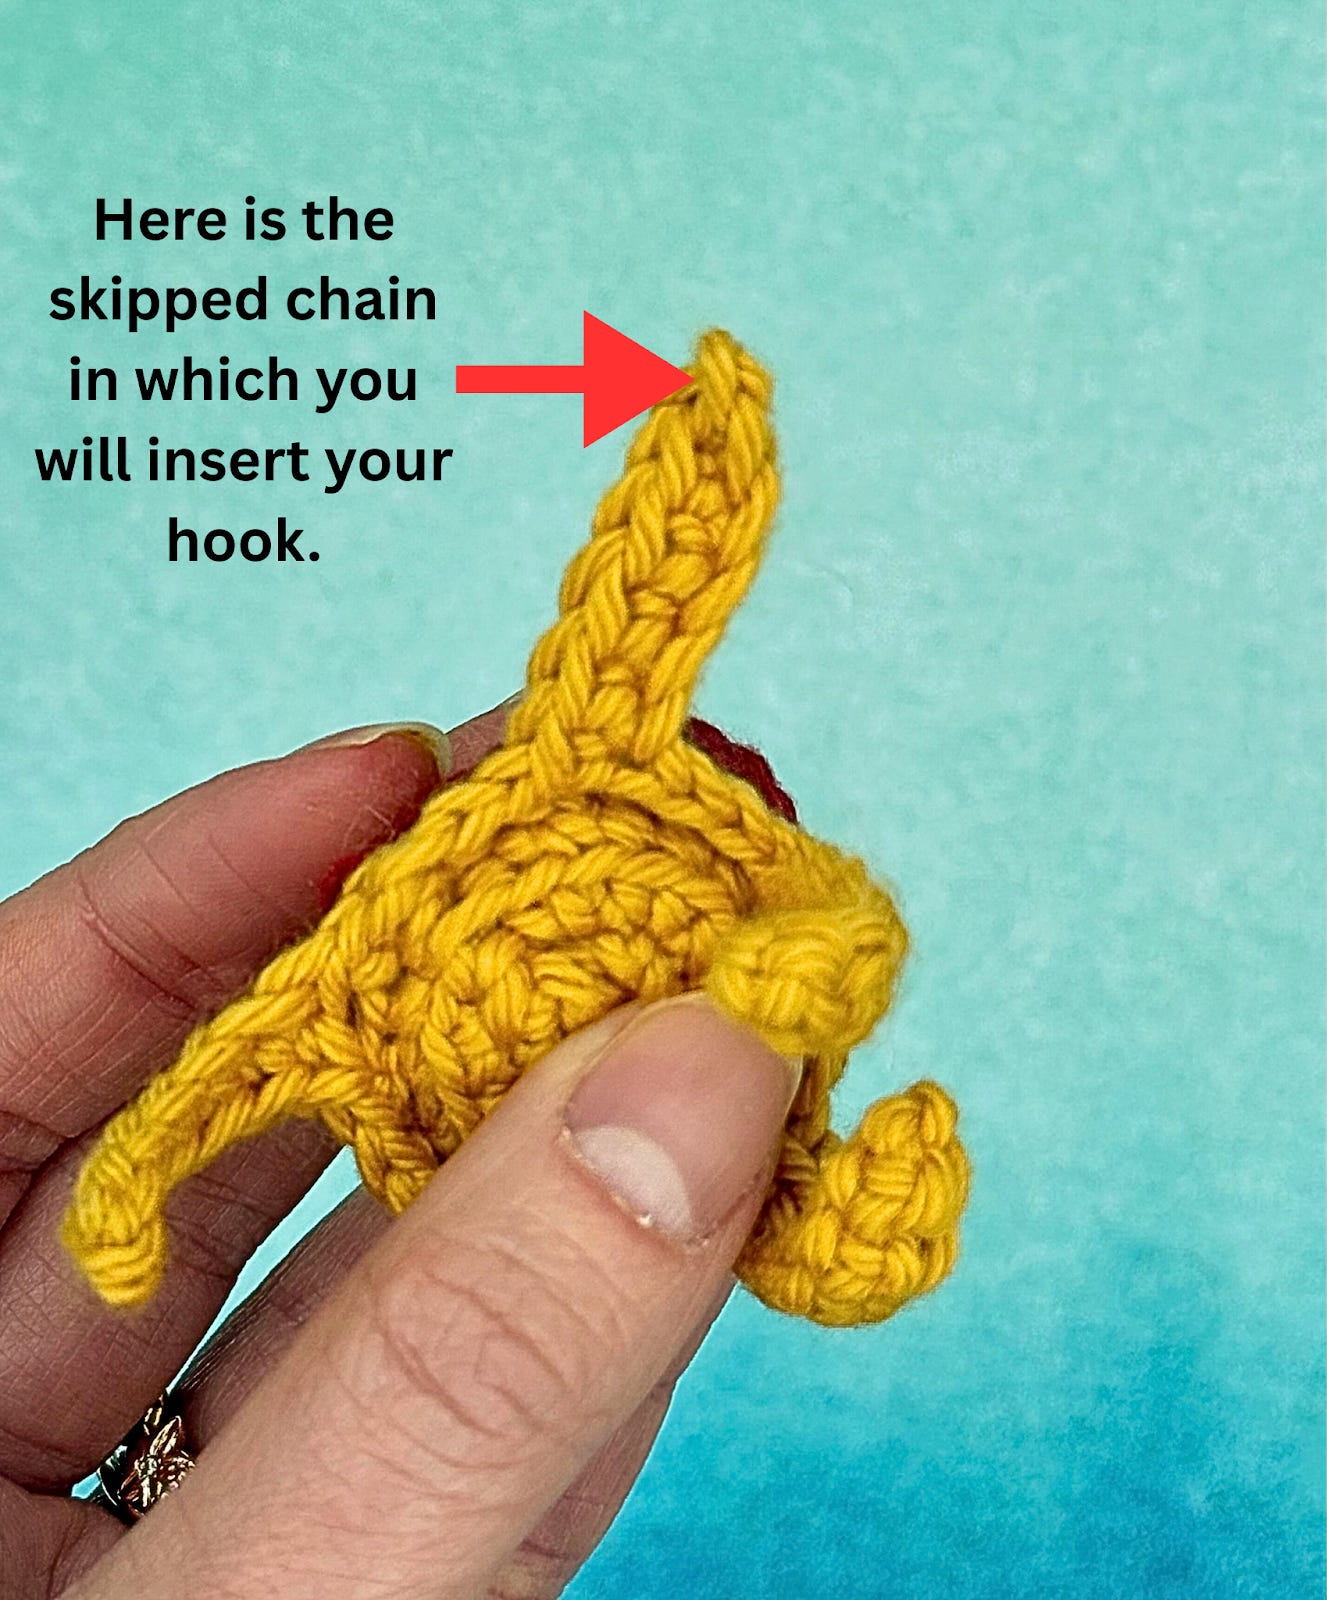
Tip: I found it difficult to keep my hook and yarn crocheting along the top of the red part of the crown as displayed in the picture above. While completing this round below, I found it easier to flip the rectangles to the bottom of the crown, working counterclockwise (the “wrong” direction for completing amigurumi). Then, I flipped them right side up before the final slip stitch.
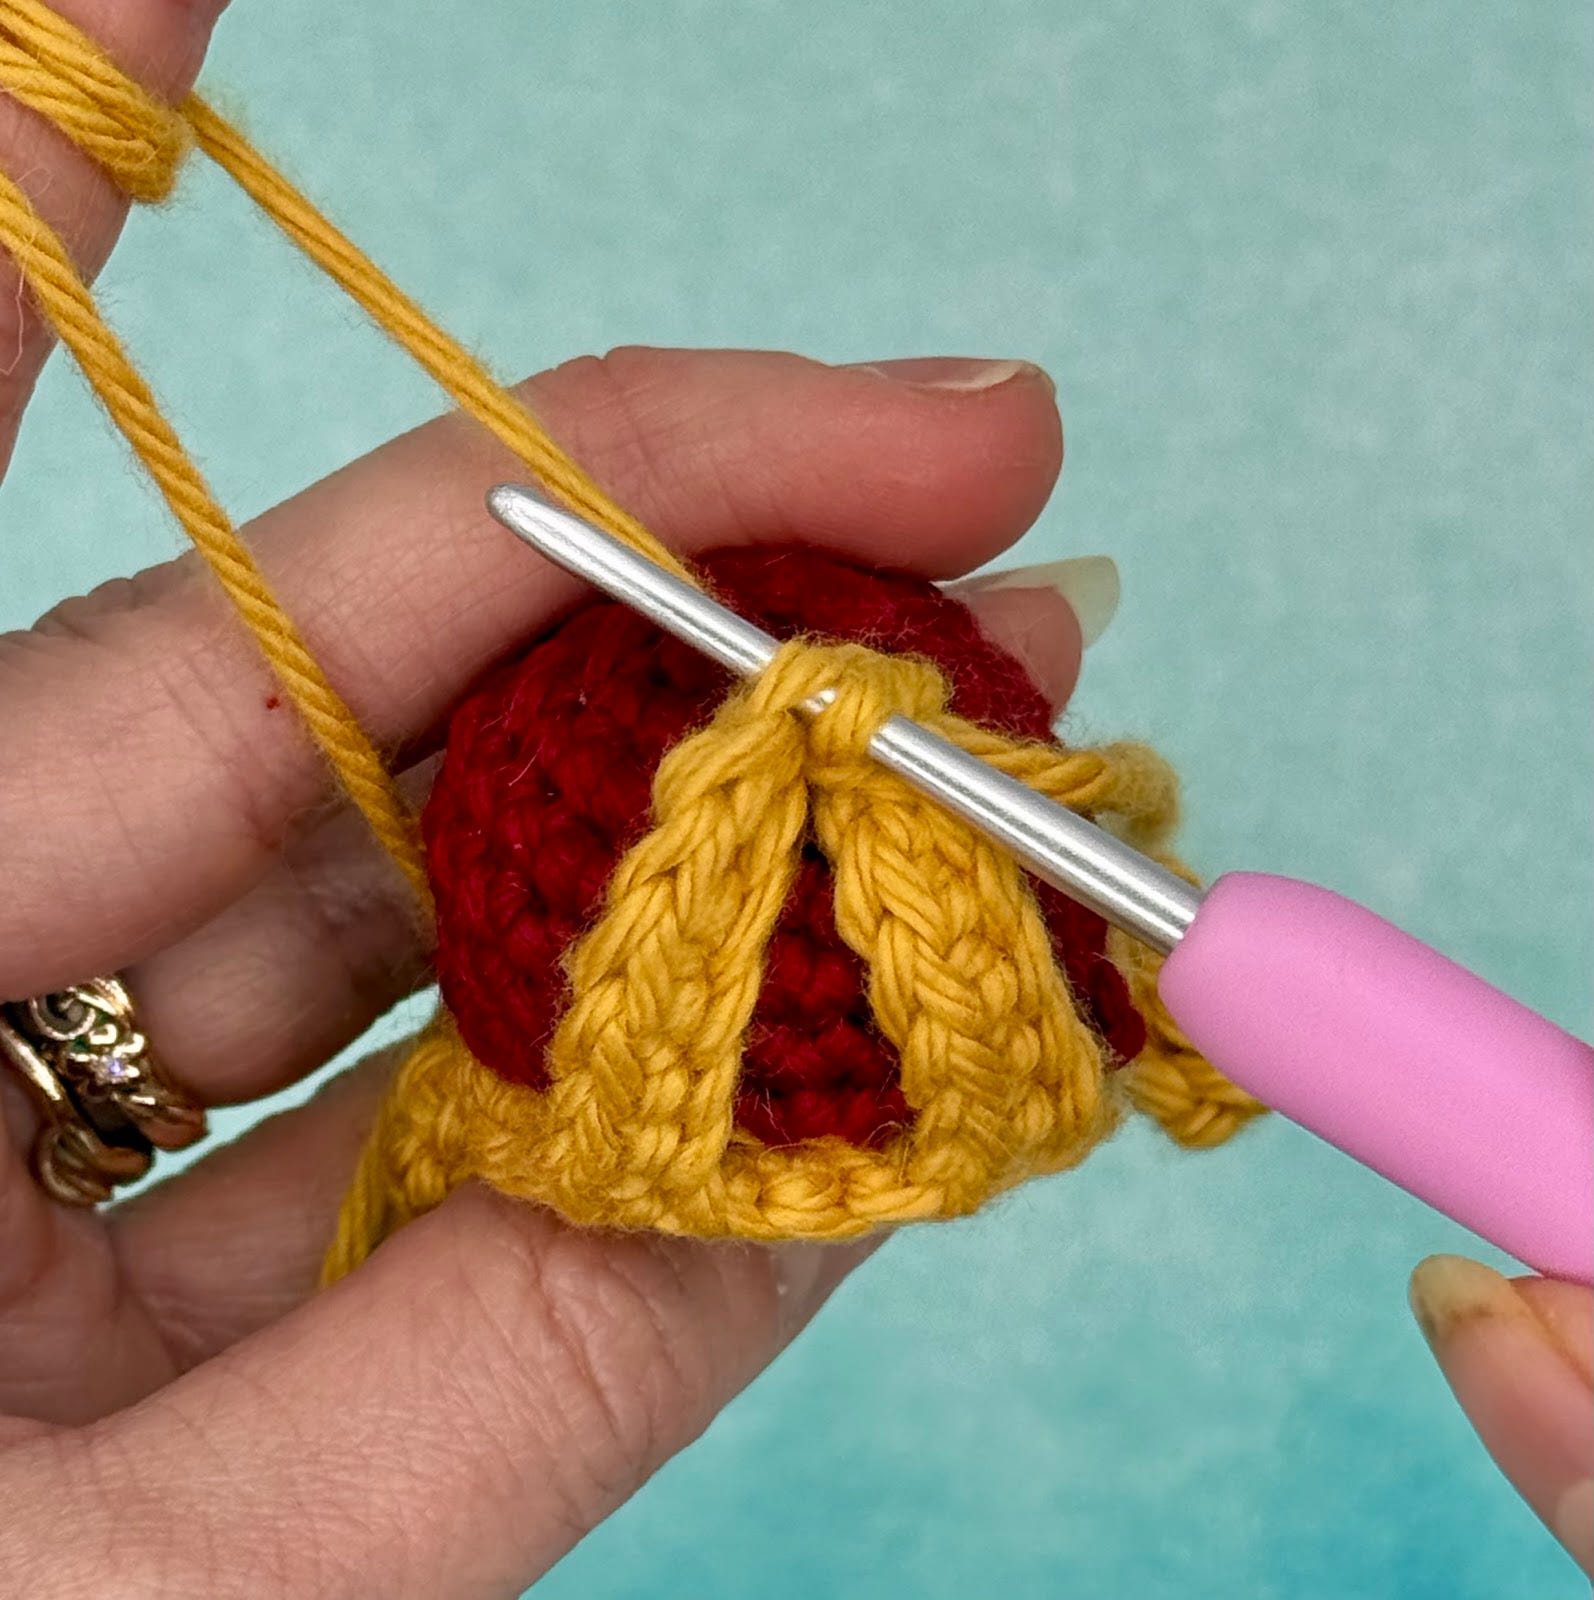
R 1:
Complete 1 sc along the skipped chain at the top of one the rectangles. Next, insert your hook along the skipped chain of the next rectangle to its left and create another sc.
Ch 6, complete 2 sl st starting from the 2nd ch from the hook,
(Ch 3, starting from the 2nd ch from the hook, complete 2 sl st) x 2
Complete 3 sl st along the first 3 chains you made in the second step
(Complete 1 sc along the skipped chain of the next rectangle to the left) x 3
Sl st to the first sc you made at the beginning of round 1.
F.o. and weave in ends.
Use gold yarn to sew the leftover front loops of round 2 of the crown in between rounds 2 and 3 of the veil, making sure the cross is facing front. (There are 16 leftover front loops of round 2 of the crown and 14 sc on round 2 of the veil. Therefore, if you’re lining these stitches up as you sew, it won’t match completely. I skipped two loops of the crown– one on 2 opposite signs– as I was sewing.)
Apply some glue on the section of the veil that is in front of the crown, and glue to the front of the sides of the veil that touch the hair. (Pins showed where I glued– I did not glue the entire sides of the veil down, but just a little bit on each side of the head). Lastly, glue the two bottom corners onto the front of the doll. Use pins to secure the veil in place as the glue dries.
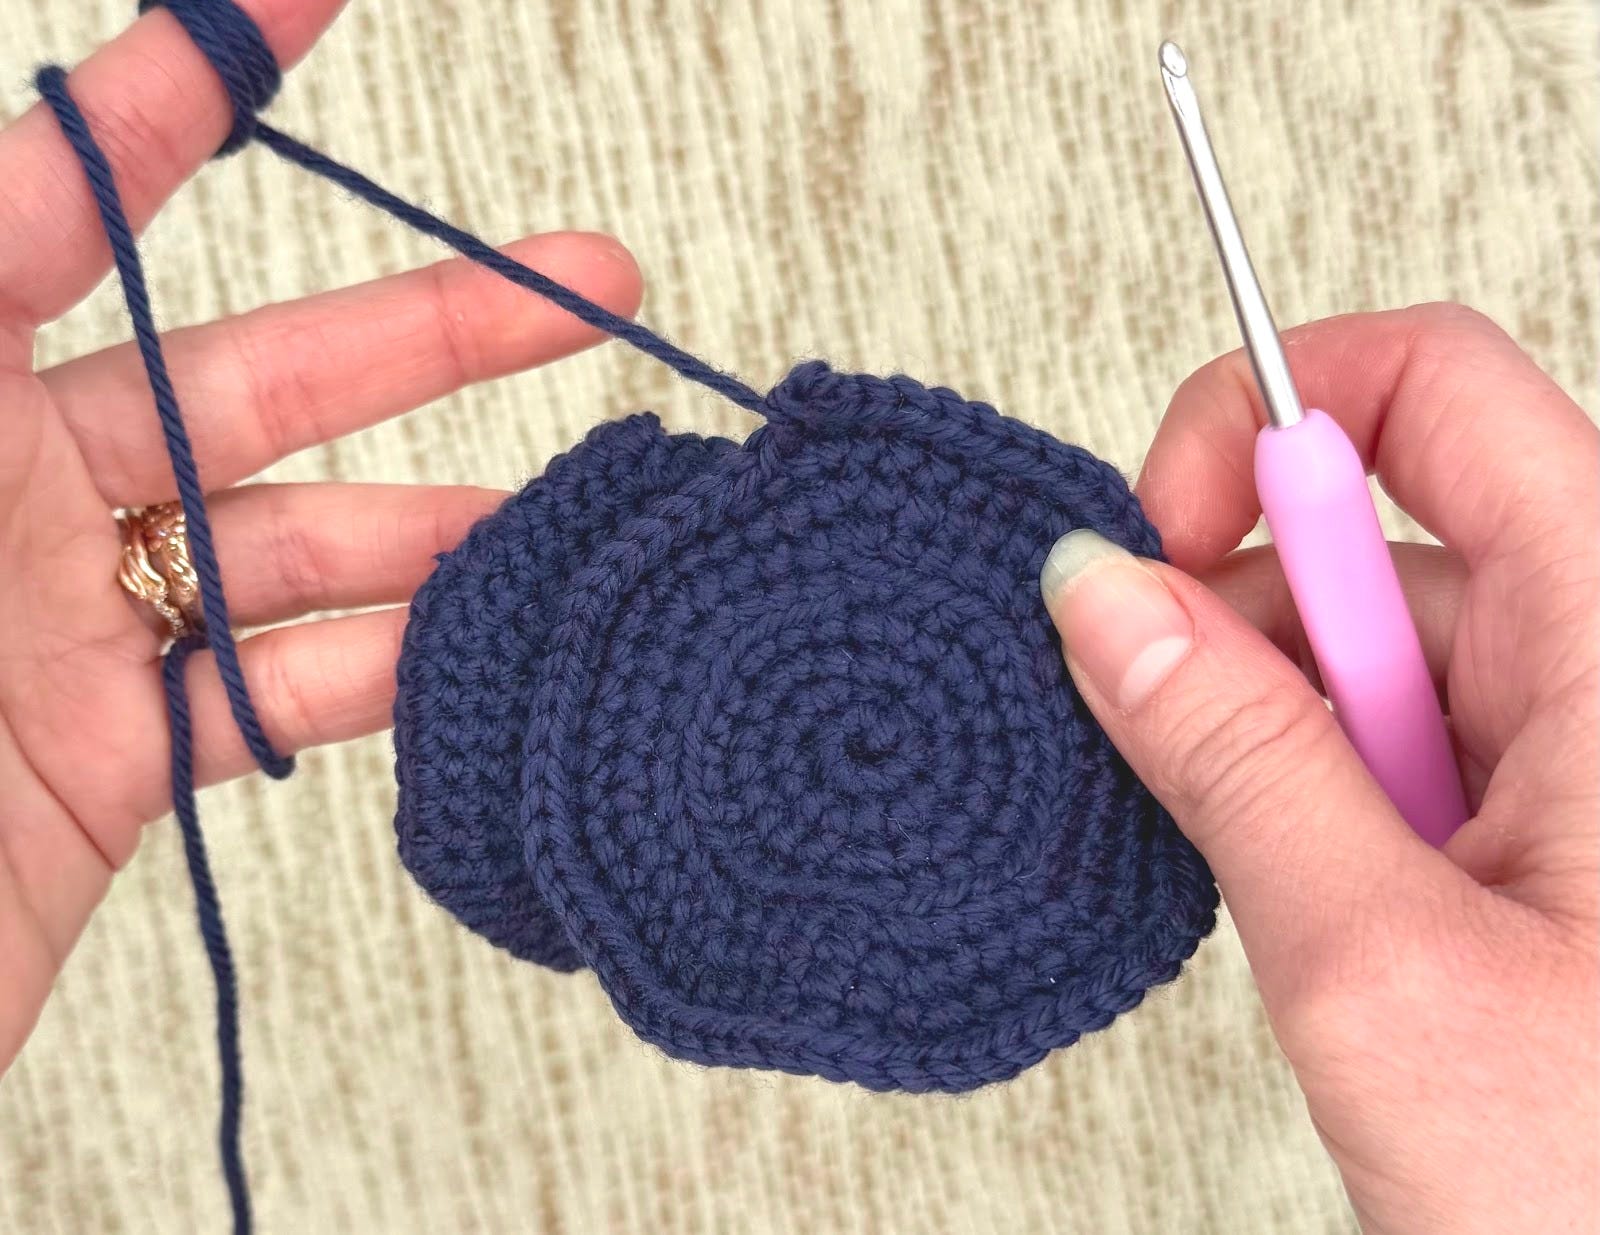
Platform: Bottom Piece
Use aqua yarn.
R 1: ch 2, complete 8 sc in the 2nd ch from the hook (8)
R 2: inc. x 8 (16)
R 3: (sc, inc.) x 8 (24)
R 4: (2 sc, inc.) x 8 (32)
R 5: (3 sc, inc.) x 8 (40)
R 6: (4 sc, inc.) x 8 (48)
R 7: (5 sc, inc.) x 8 (56)
R 8: (6 sc, inc.) x 8 (64)
F.o. and weave in the ends.
Trace the bottom piece onto a piece of plastic canvas and cut it out.
Platform: Top Piece
Use aqua yarn.
R 1: ch 2, complete 8 sc in the 2nd ch from the hook (8)
R 2: inc. x 8 (16)
R 3: (sc, inc.) x 8 (24)
R 4: (2 sc, inc.) x 8 (32)
R 5: BLO (3 sc, inc.) x 8 (40)
R 6: (4 sc, inc.) x 8 (48)
R 7: (5 sc, inc.) x 8 (56)
R 8: (6 sc, inc.) x 8 (64)
Do not f.o., but continue onto “Platform Assembly.”
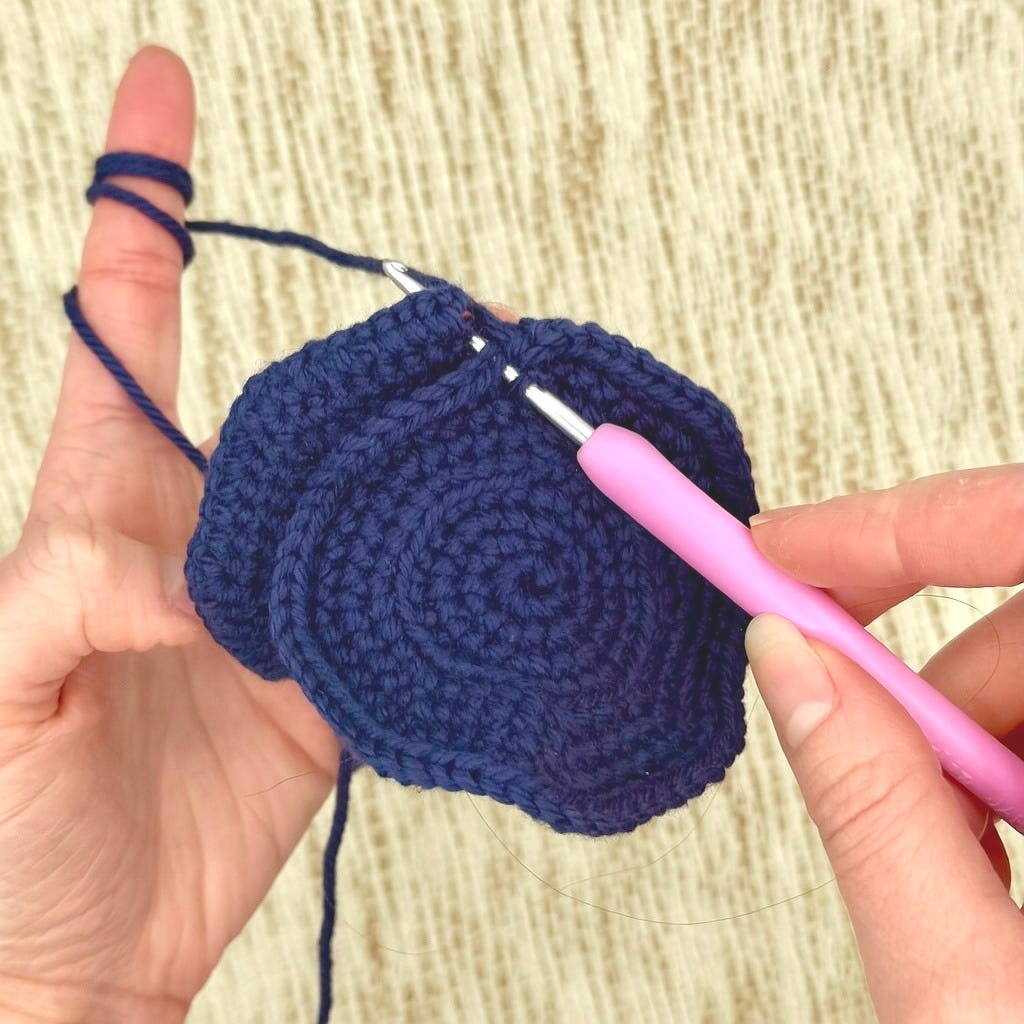
Platform Assembly
Align your two pieces together like puzzle pieces so that the first two stitches you crochet together complete the circle evenly. Insert your hook into the next stitch of your top piece, then insert your hook into the stitch that comes immediately after where you finished off on the bottom piece. Complete 64 sc all around, crocheting both pieces together. When you’re about half way through, insert the plastic canvas piece inside and finish crocheting. After your final sc, sl st to the first sc you made. F.o. and weave in ends
Use white yarn to sew the unworked front loops of round 4 of the doll to the unworked front loops of round 4 of the top platform piece.
Sew the rosary onto each arm using beige yarn.
Lastly, place blush on the doll’s cheeks if desired
The end!
Thanks for trying my pattern! I’d love to see your finished result on instagram. Tag me at @Lindsey_Crochets.